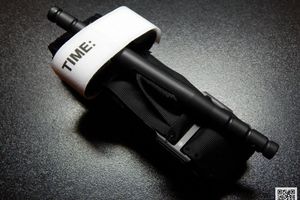
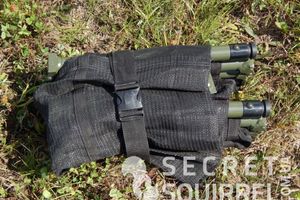
In a previous post, NAR Combat Application Tourniquet Overview (C-A-T) (Part 3), I talked about how to fold the harness in an alternative way. In today's I will talk about how to apply this styling in practice.
Before talking about the step-by-step algorithm for applying the NAR Combat Application Tourniquet (C-A-T) tourniquet from an alternative styling, I would like to talk about some of its features. In a previous article, I already noted that it allows you to completely block the access of dust, sand, dirt, small forest debris, water and snow to the velcro of the tourniquet, thereby prolonging its service life and increasing the reliability of fixation.
Another feature is that this styling completely unifies the use of a tourniquet on both upper and lower limbs. Those. for both cases, the so-called “one-handed” configuration is used, in which the working end is passed through only one slot in the fixing buckle.
I would like to assure those whom this moment can confuse, that the “one-handed” configuration has proved to be quite effective in the lower limbs as well. For this reason, in the NAR Combat Application Tourniquet (C-A-T) Gen 7, they even completely abandoned the second slot in the buckle. But we will try to pay attention to the features of C-A-T Gen 7 in the future.
And, since the harness is used in the same way for the upper and lower extremities, there is no need to remember two algorithms for its application, which only simplifies its development. For the same reason, the tow is also transported and removed from the stacking in the same way - with hooks down, which allows us to determine the correctness of its placement not only visually, but also tactilely. This, in turn, only facilitates its use in conditions of limited visibility.
Application Combat Application Tourniquet (alternative method)
To use the NAR Combat Application Tourniquet (C-A-T) from an alternative styling for damage to the upper and lower extremities, the manipulations described below must be performed. I will illustrate them with the example of a hand, but on my feet all the steps are completely identical.
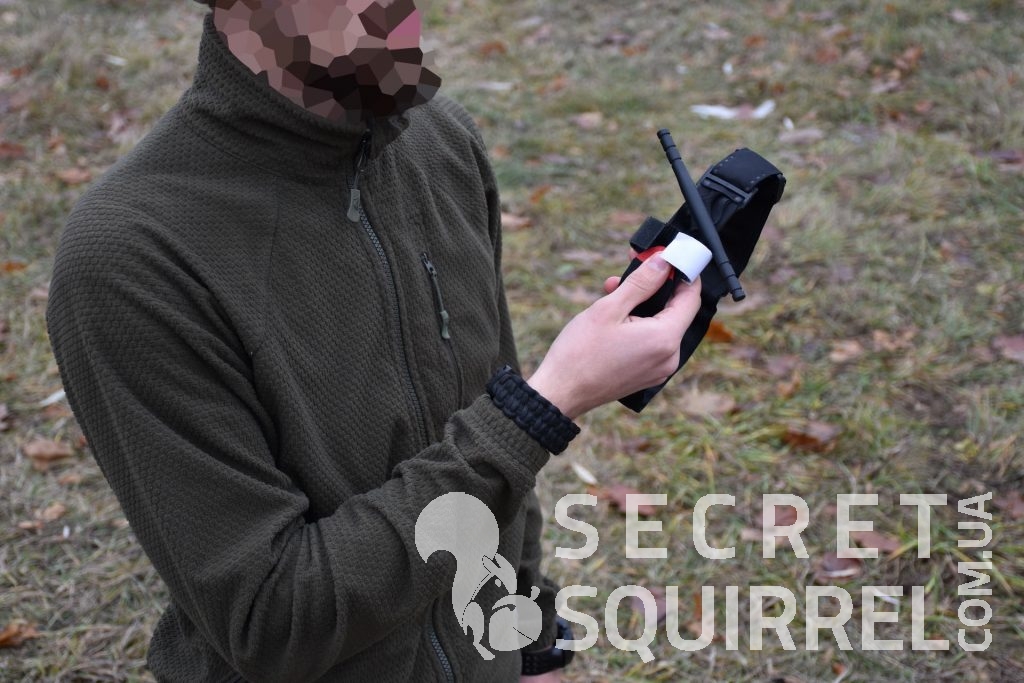
- Remove the NAR Combat Application Tourniquet (C-A-T) harness and lay the loop in your hand so that your hand holds the working end (marked in red) located between the hooks. The collar and platform of the harness should be above your hand.
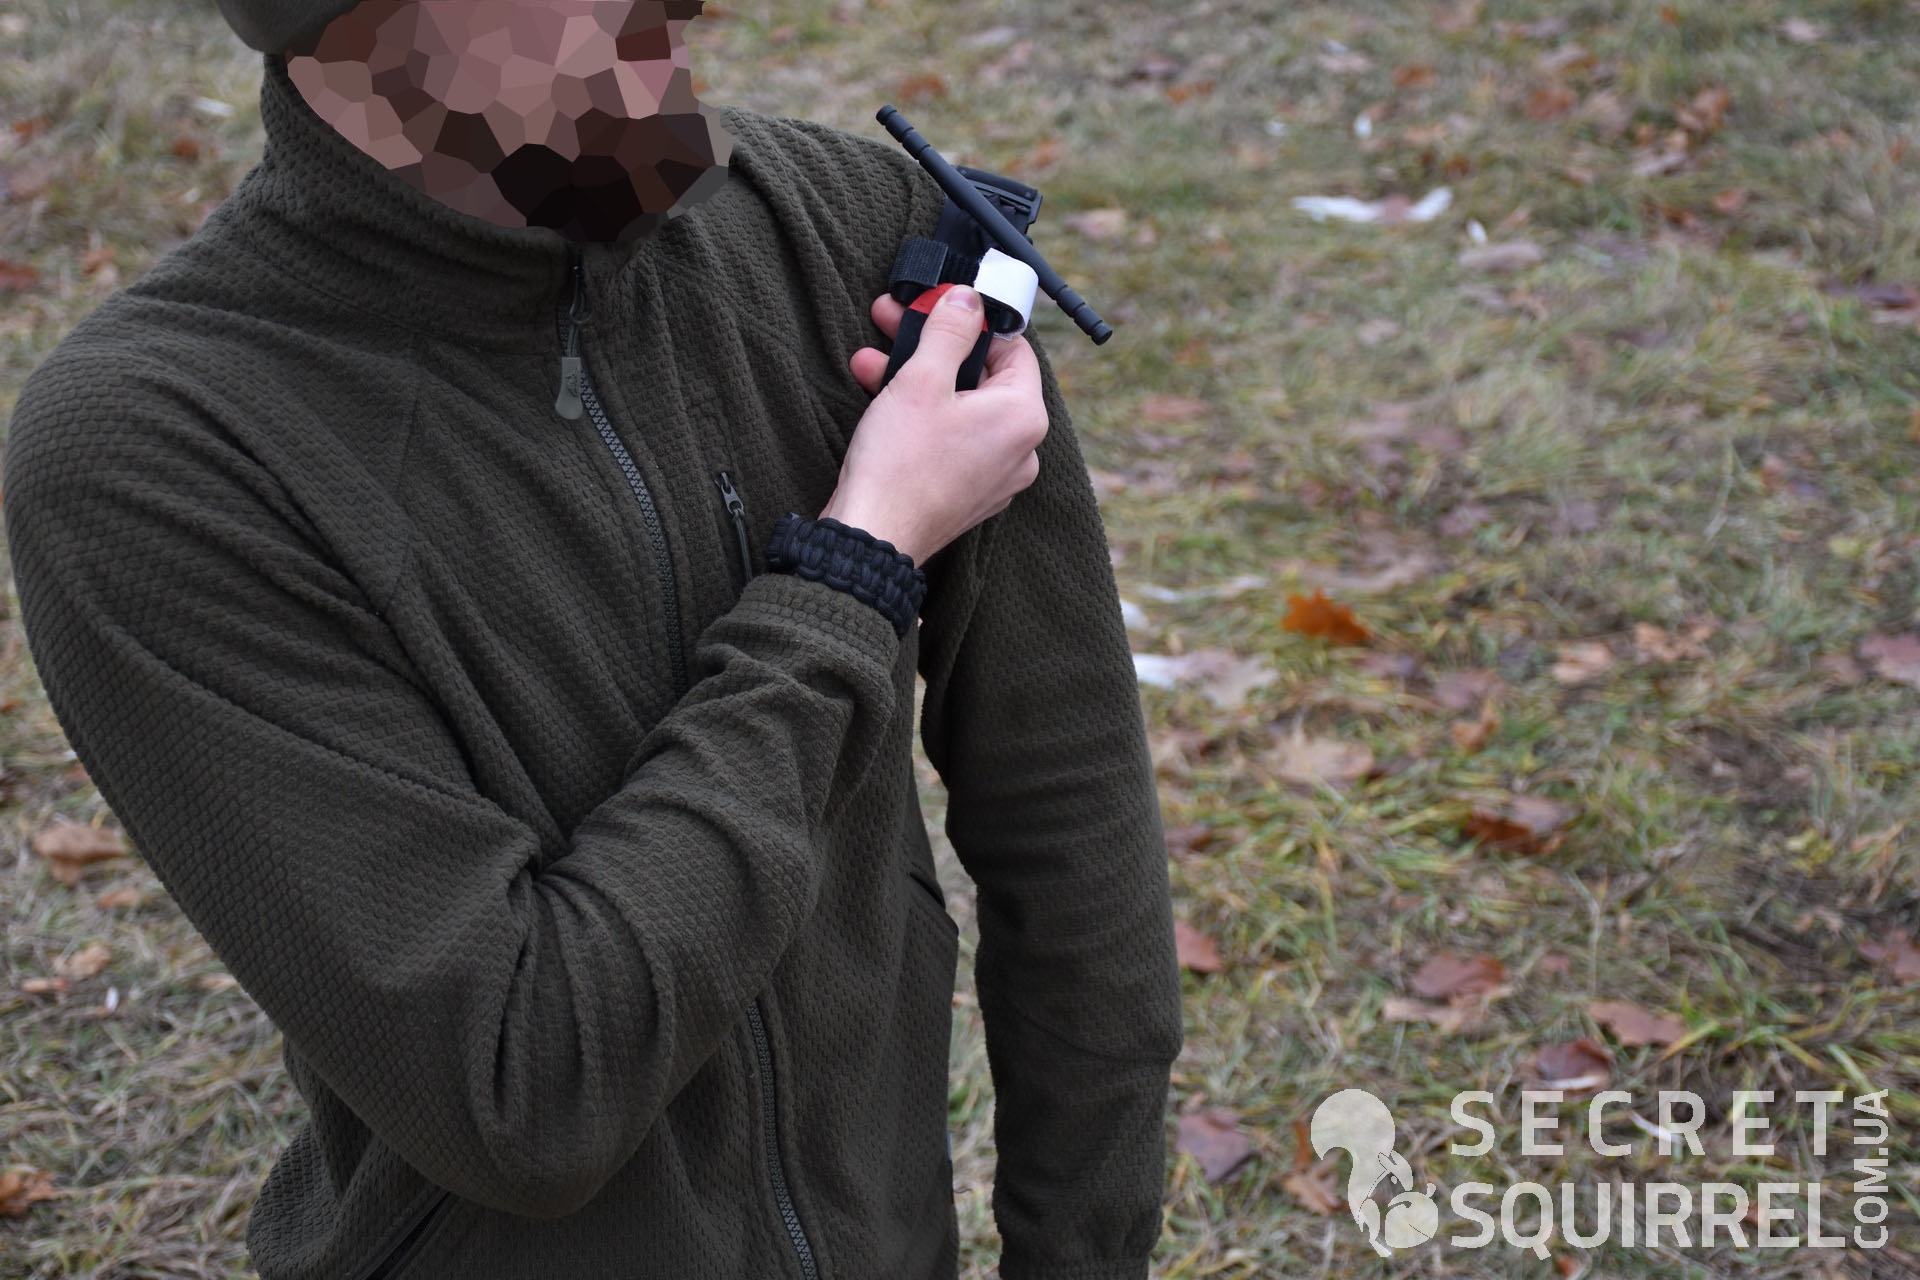
- Thread the damaged limb into the NAR Combat Application Tourniquet (C-A-T) loop, and raise it to the upper third of the limb.
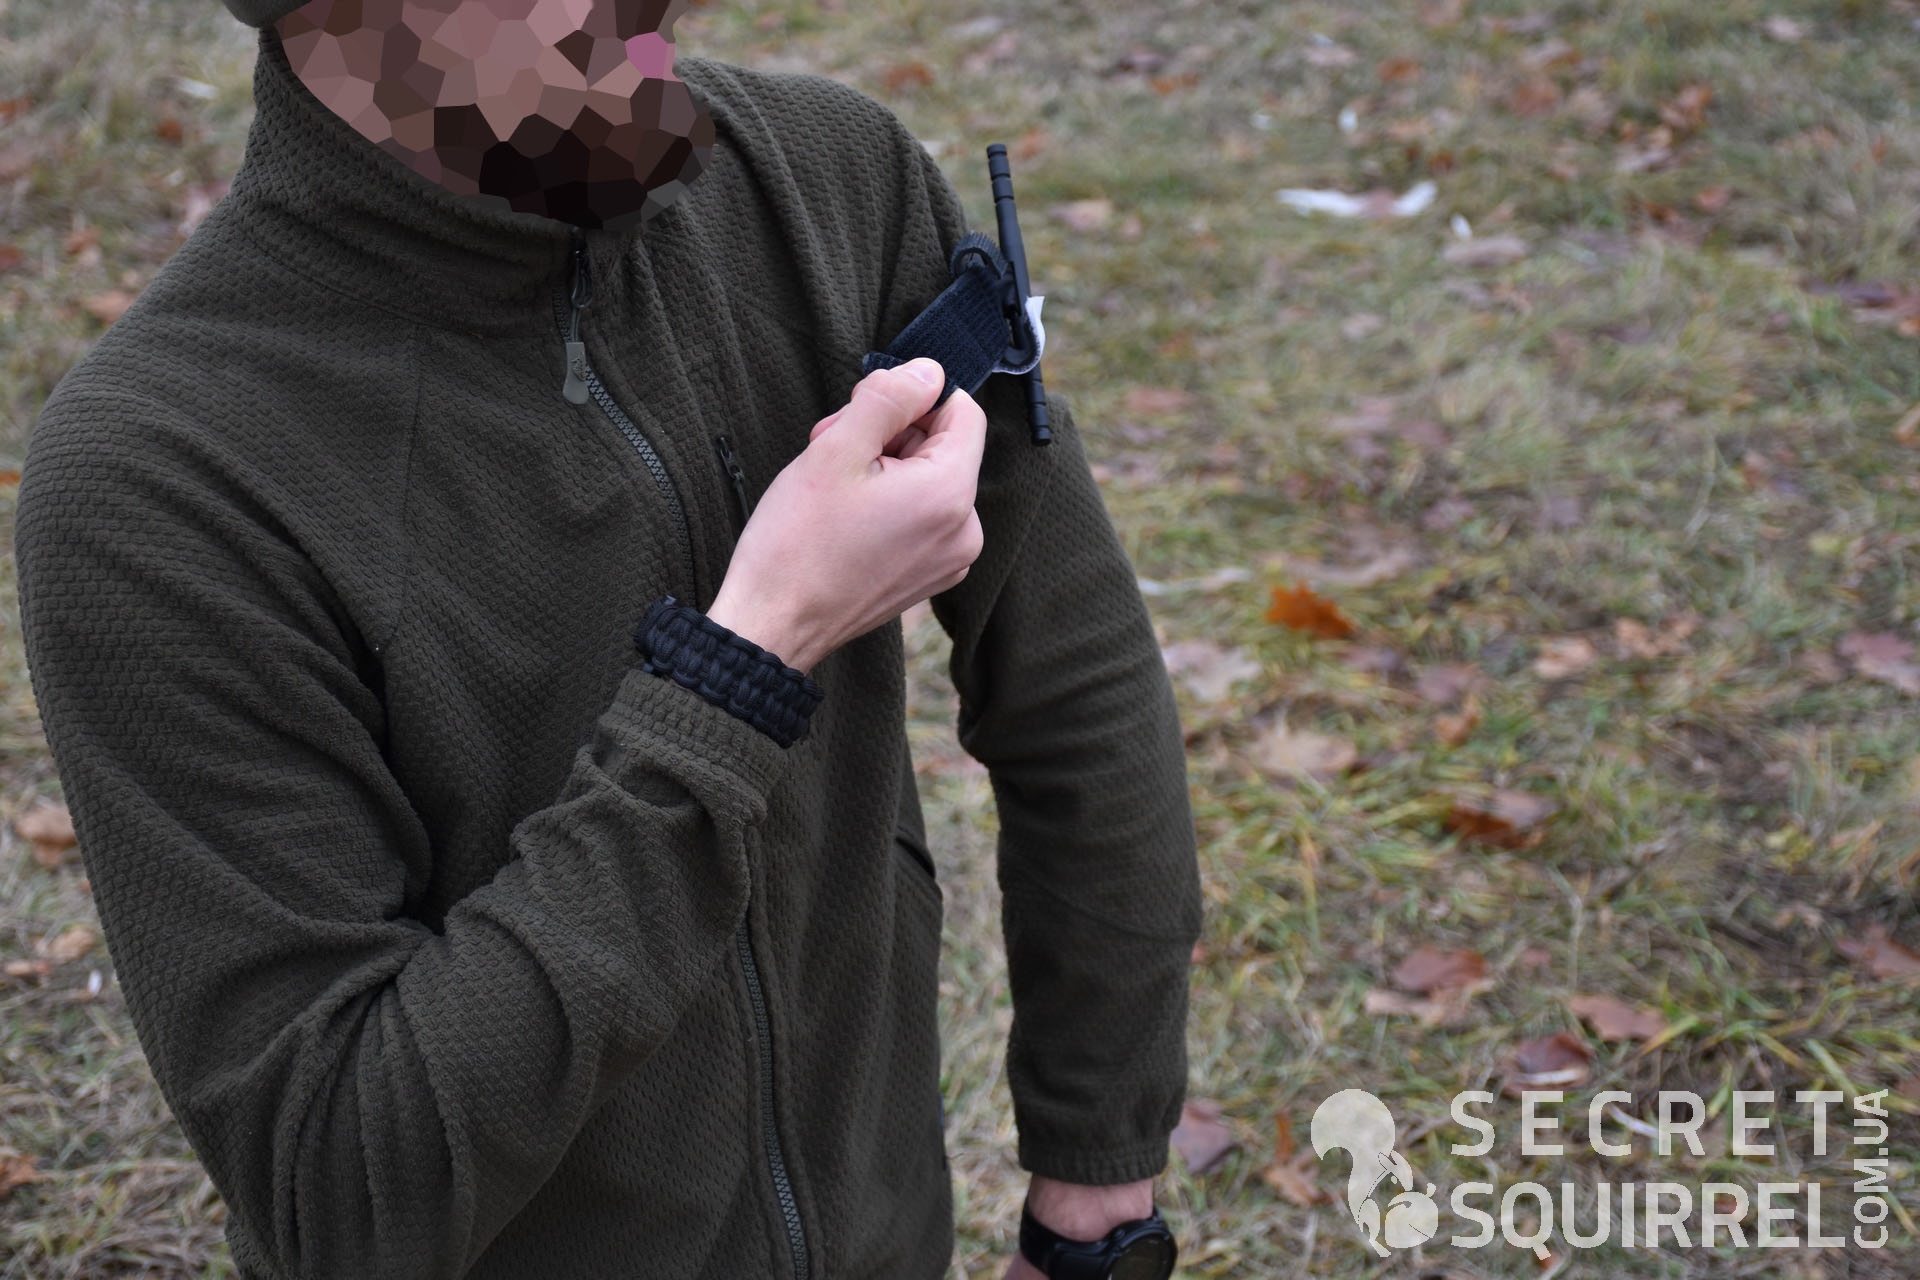
- Grasp the working end of the harness (marked in red) and peel it off, thereby freeing it from under the hooks for the gate.
To demonstrate the next steps I will need to raise my hand. This was done solely for demonstrative purposes, otherwise it would be very difficult to illustrate the described manipulations in the photo.
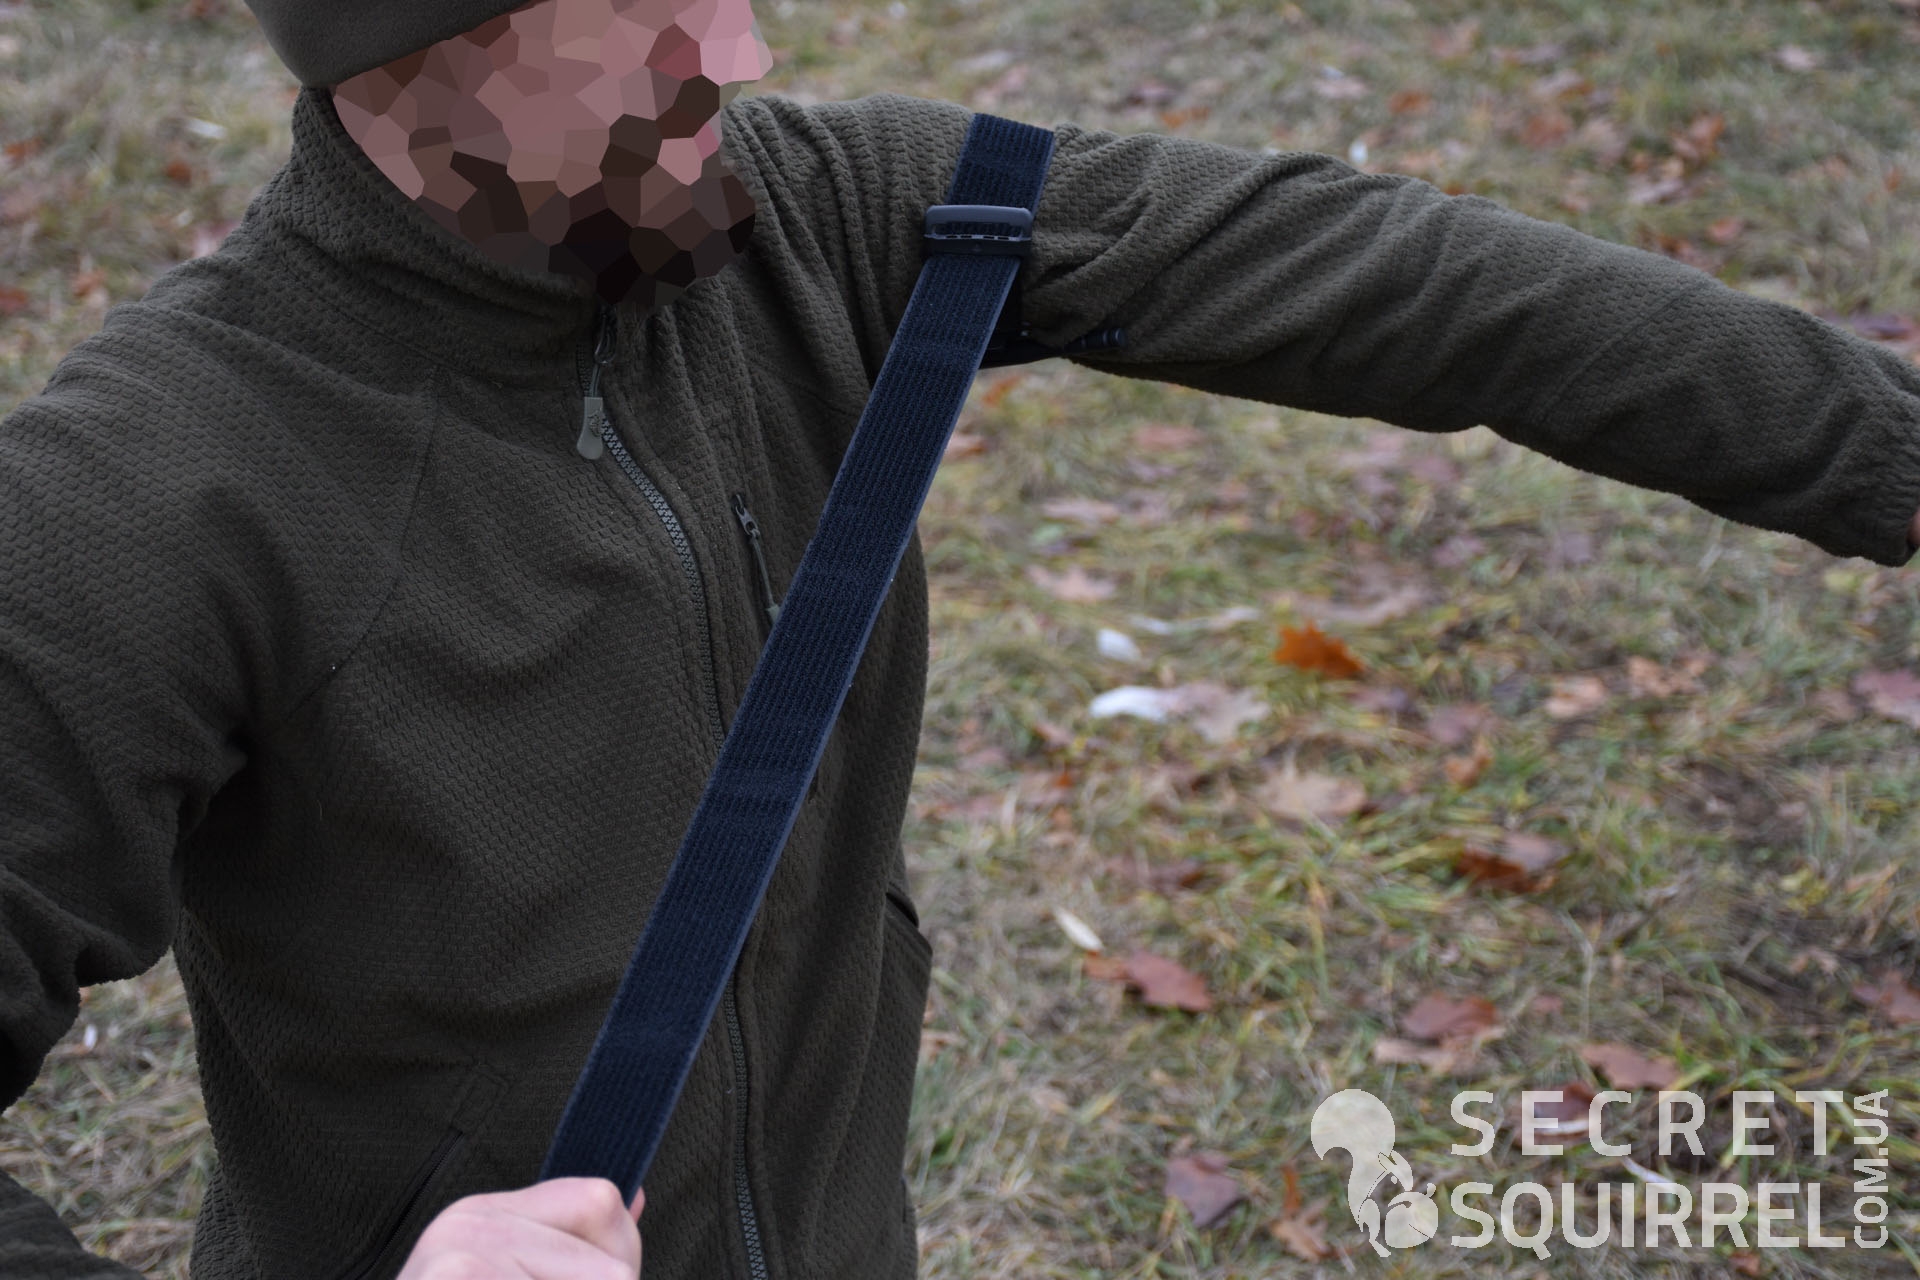
- With a sharp and strong jerk, pull the working end of the harness toward you. The platform with hooks and a handle will make one full revolution around the limb. The stronger and sharper your jerk will be, the faster and easier the harness will turn. Do not worry, even if you lie on the ground on your back or stomach, a cranking will happen anyway.
The wrench described above is a characteristic feature of this styling of the NAR Combat Application Tourniquet (C-A-T). Since the success of blocking bleeding directly depends on it, I strongly recommend that you try and work it out before the tourniquet is applied “in the field”!
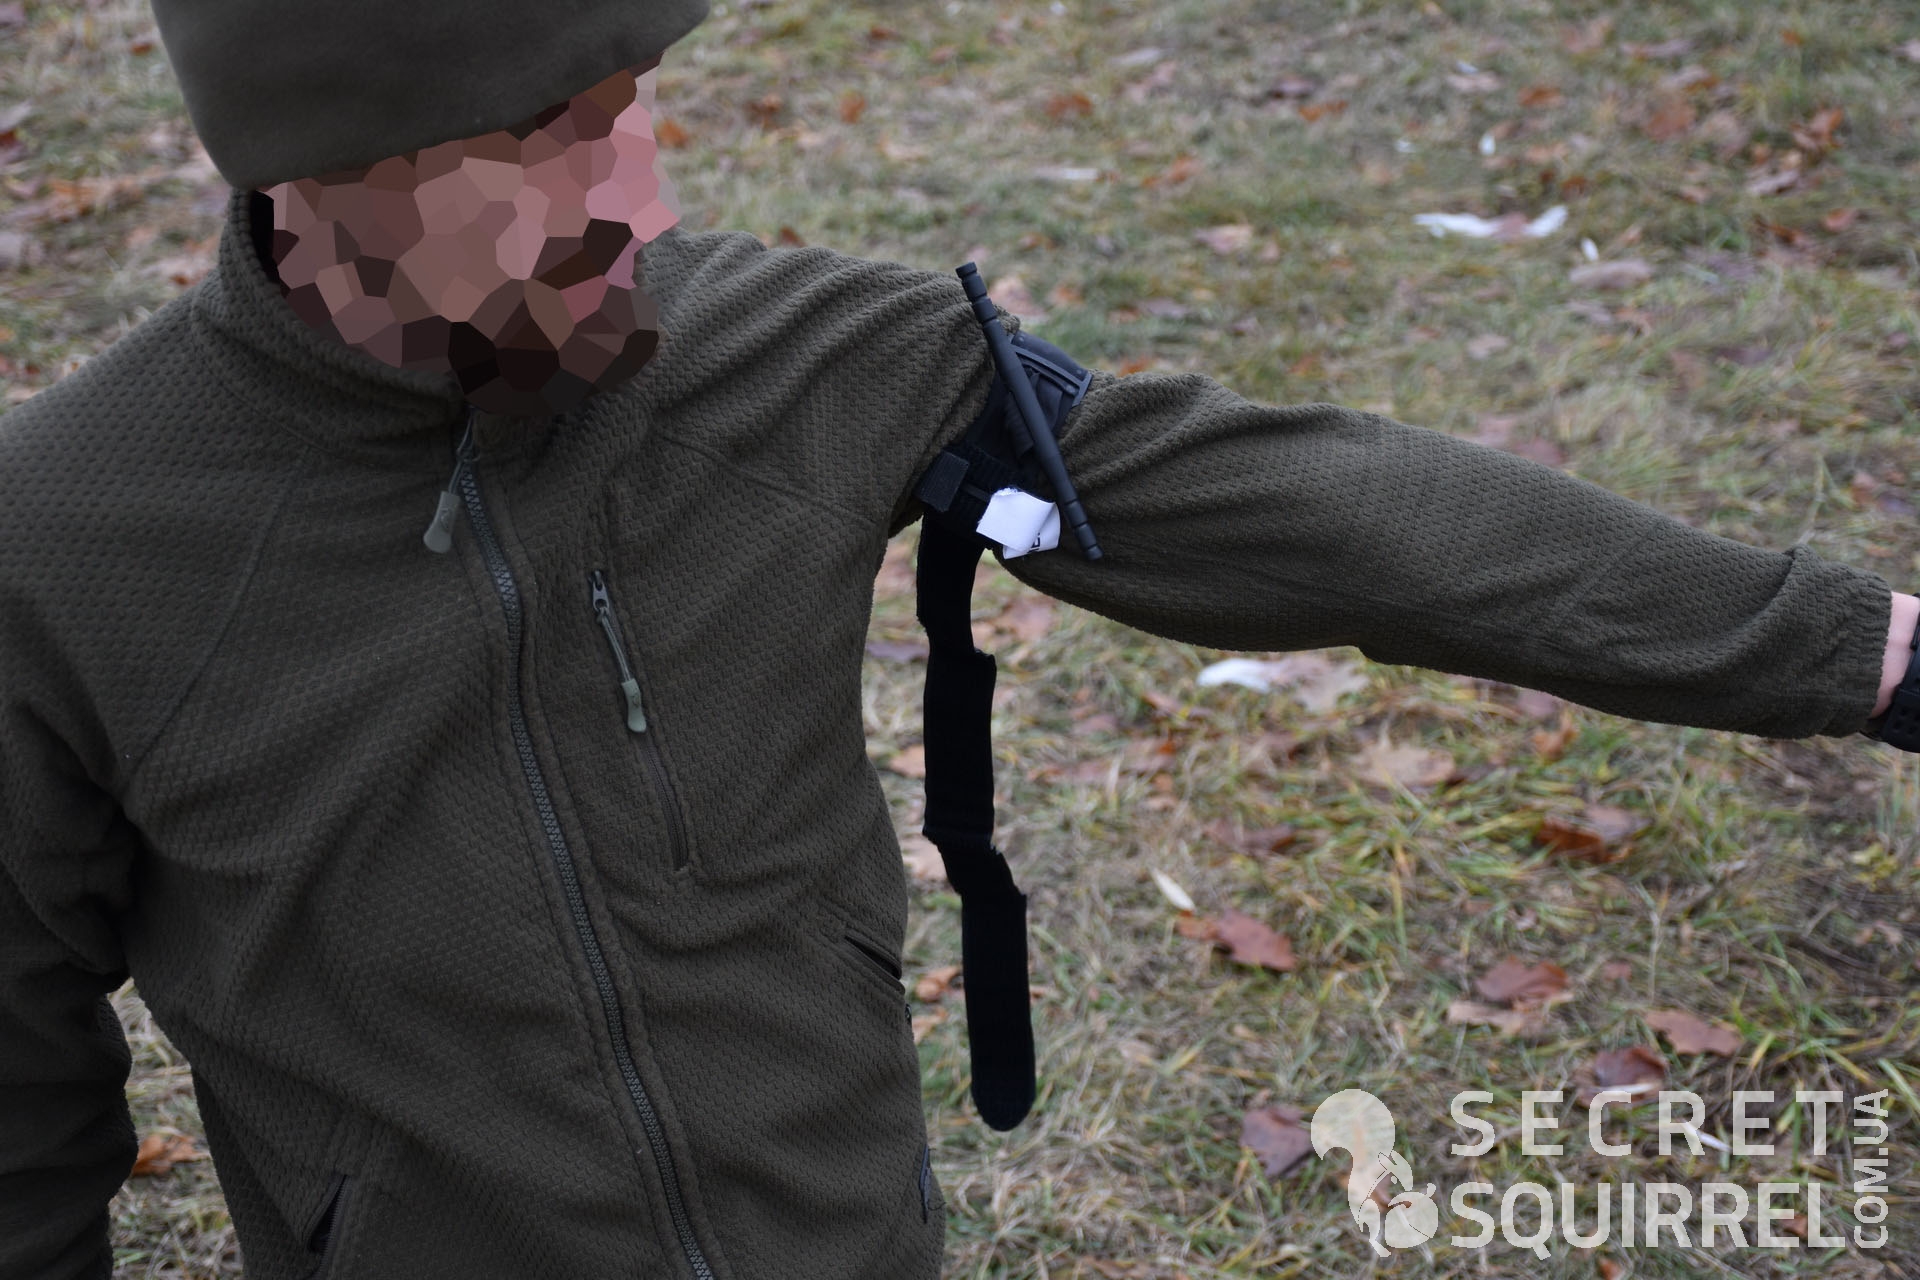
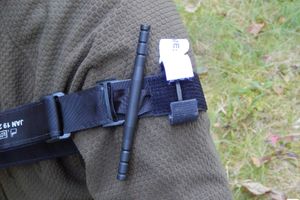
- After the jerk, grab the hook and loop fastener closer to the double-buckle buckle, select its entire free length by tightly tightening the NAR Combat Application Tourniquet (C-A-T) loop around the limb, and glue the Velcro around the limb without crossing the locking hooks. Please note that after this, the platform and the harness collar will take their place on the inner surface of the limb, where there is much less chance of loosening due to damage or clinging to objects of the environment.
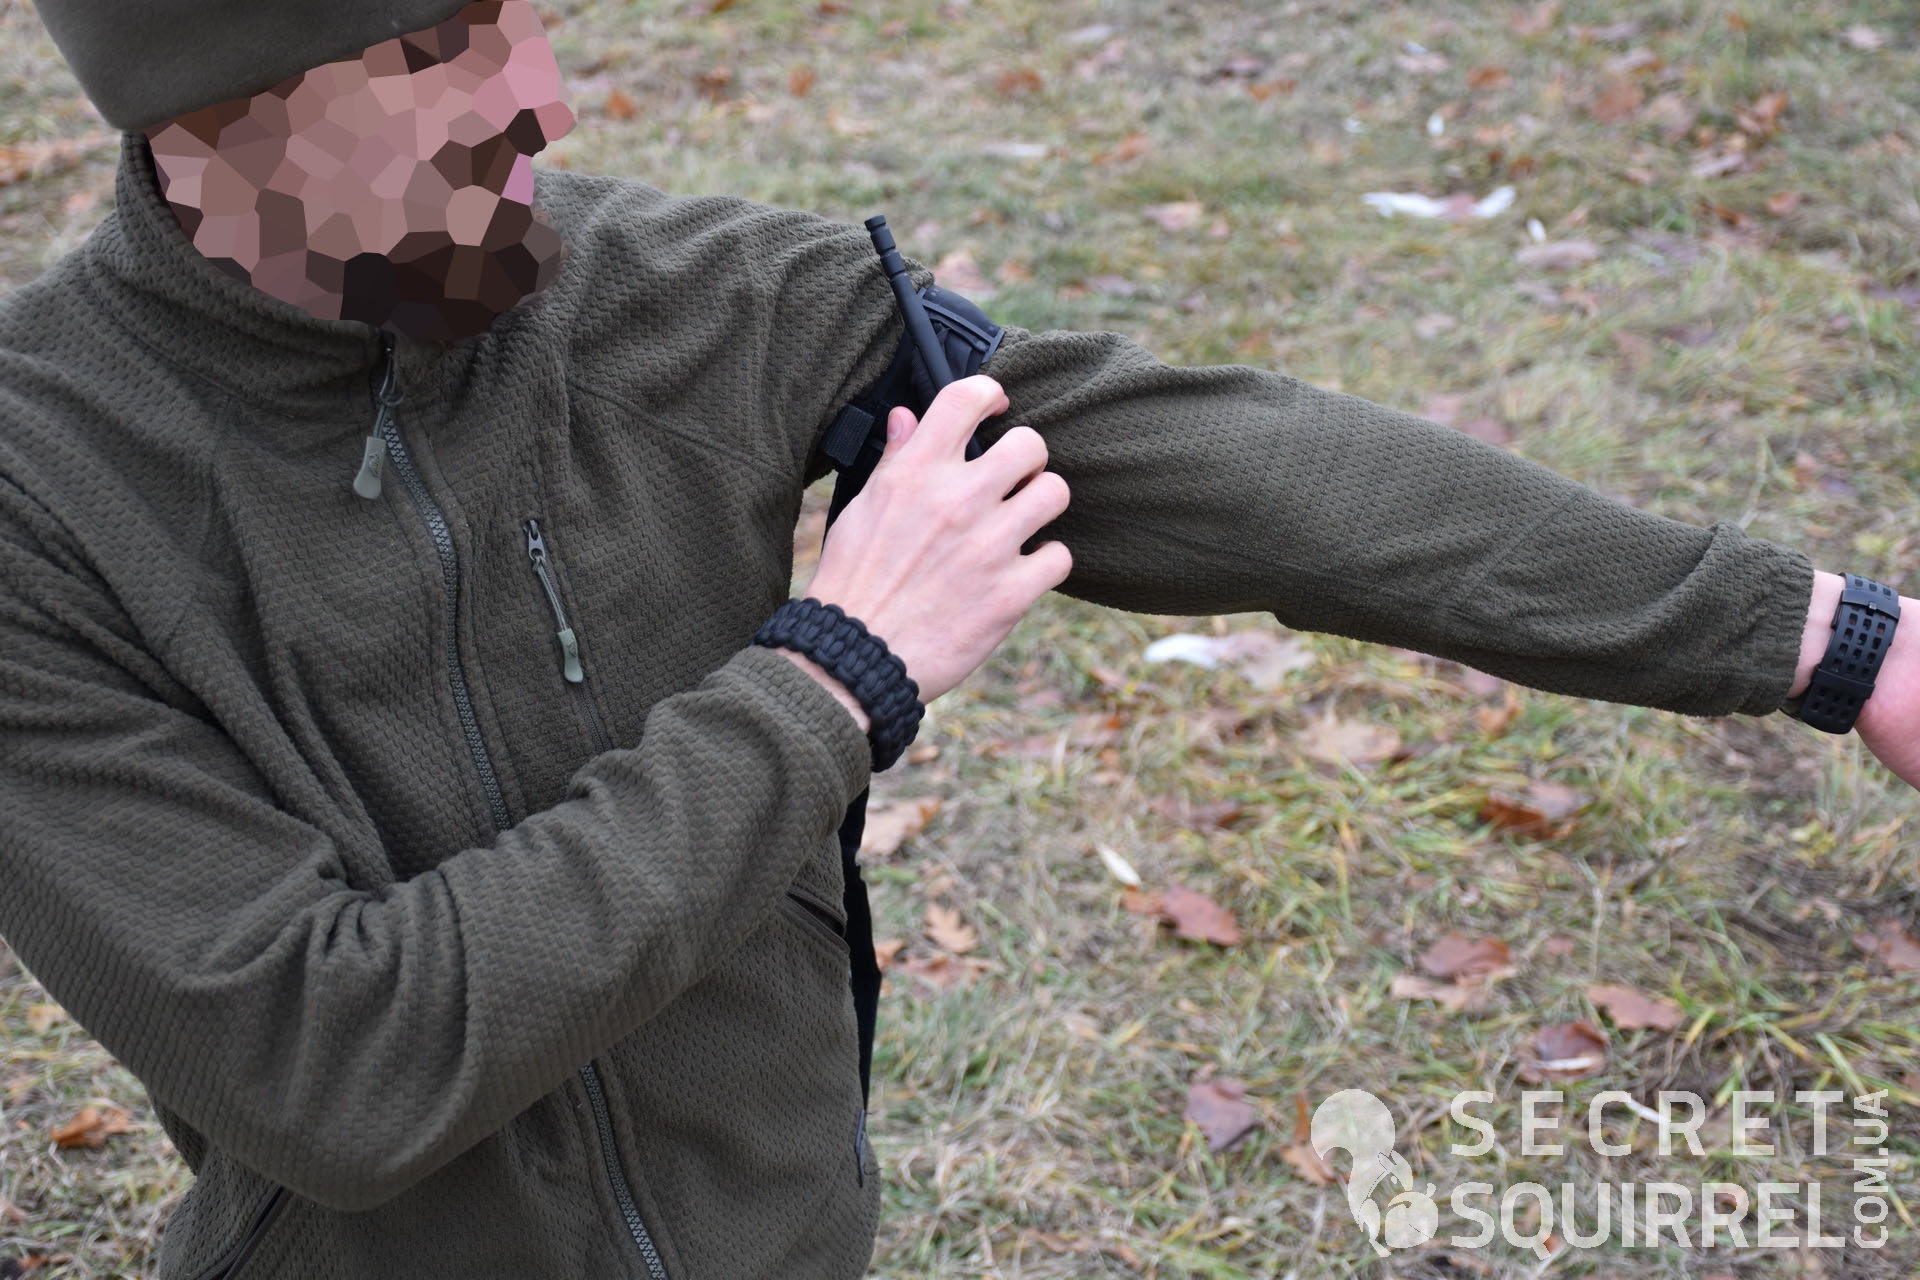
- Grasp the collar of the tourniquet and rotate it until the bleeding stops and the peripheral pulse is blocked.
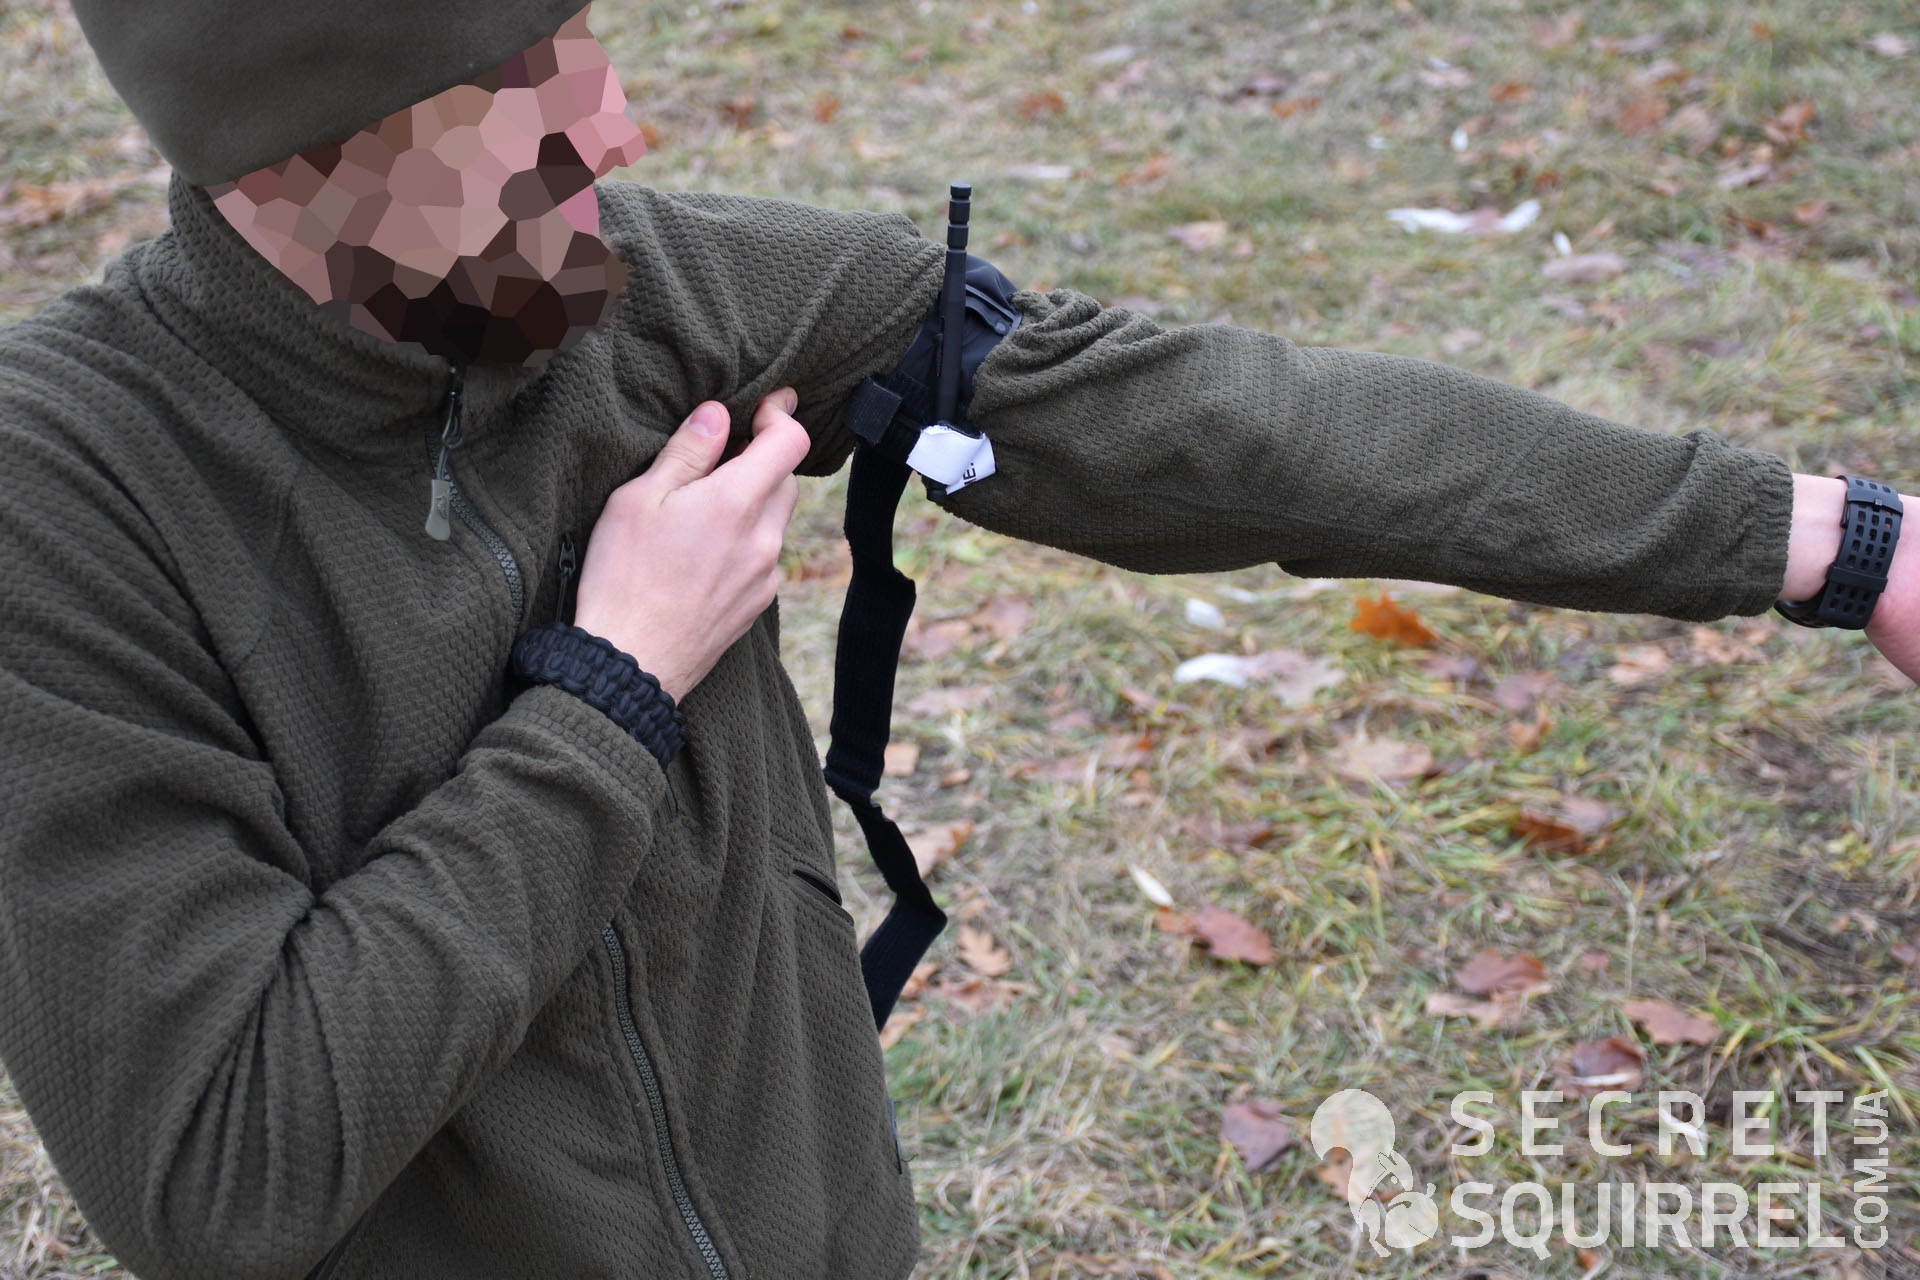
- Lock the gate against unwinding by placing it between the hooks of the platform. Check for bleeding and peripheral heart rate. If the bleeding has not stopped, do another rotation of the rod or place an additional tourniquet above the first. Retest bleeding.
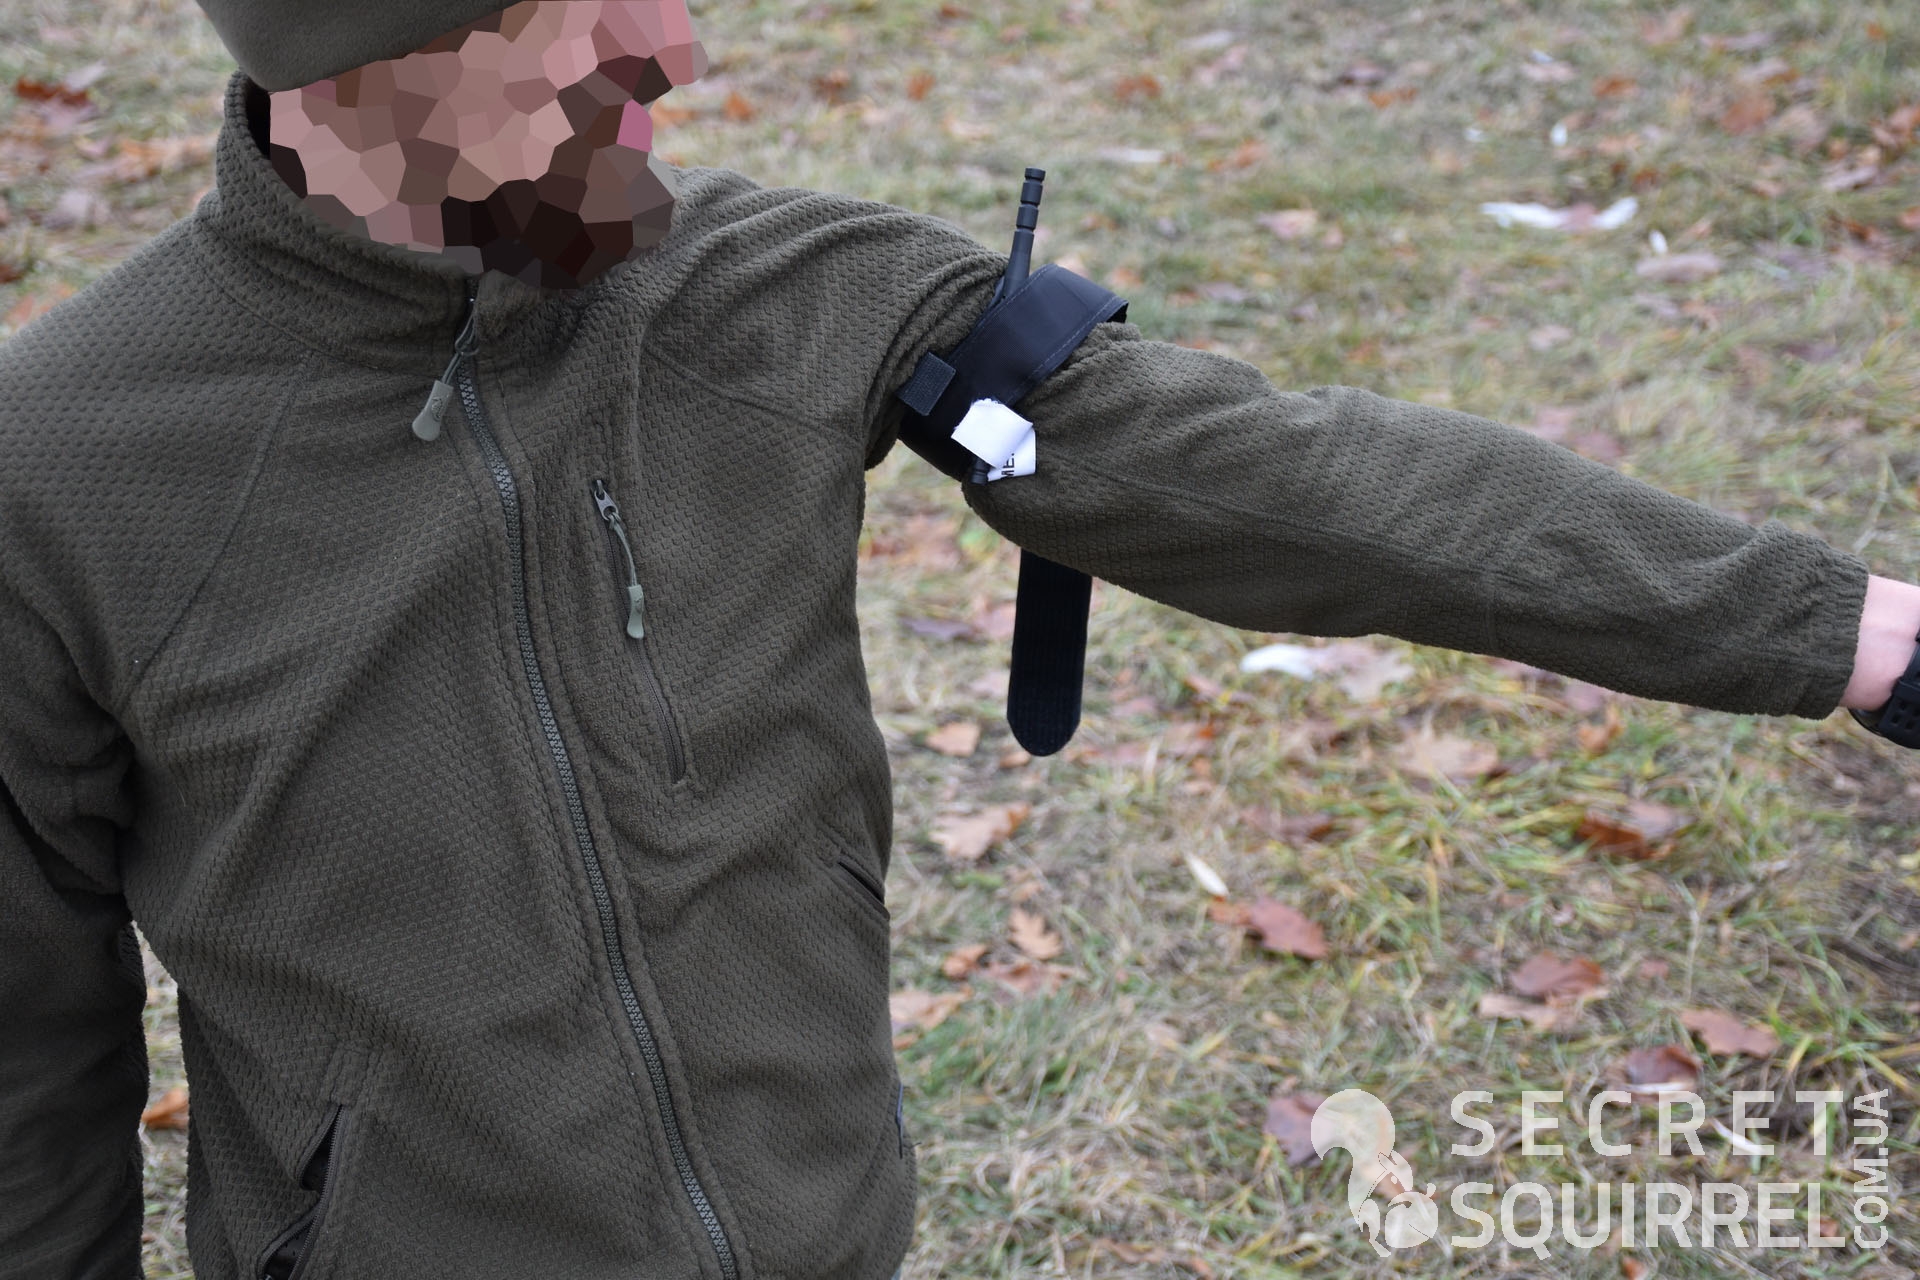
- Pass the working end of the harness between the hooks, over the collar and completely around the limb.
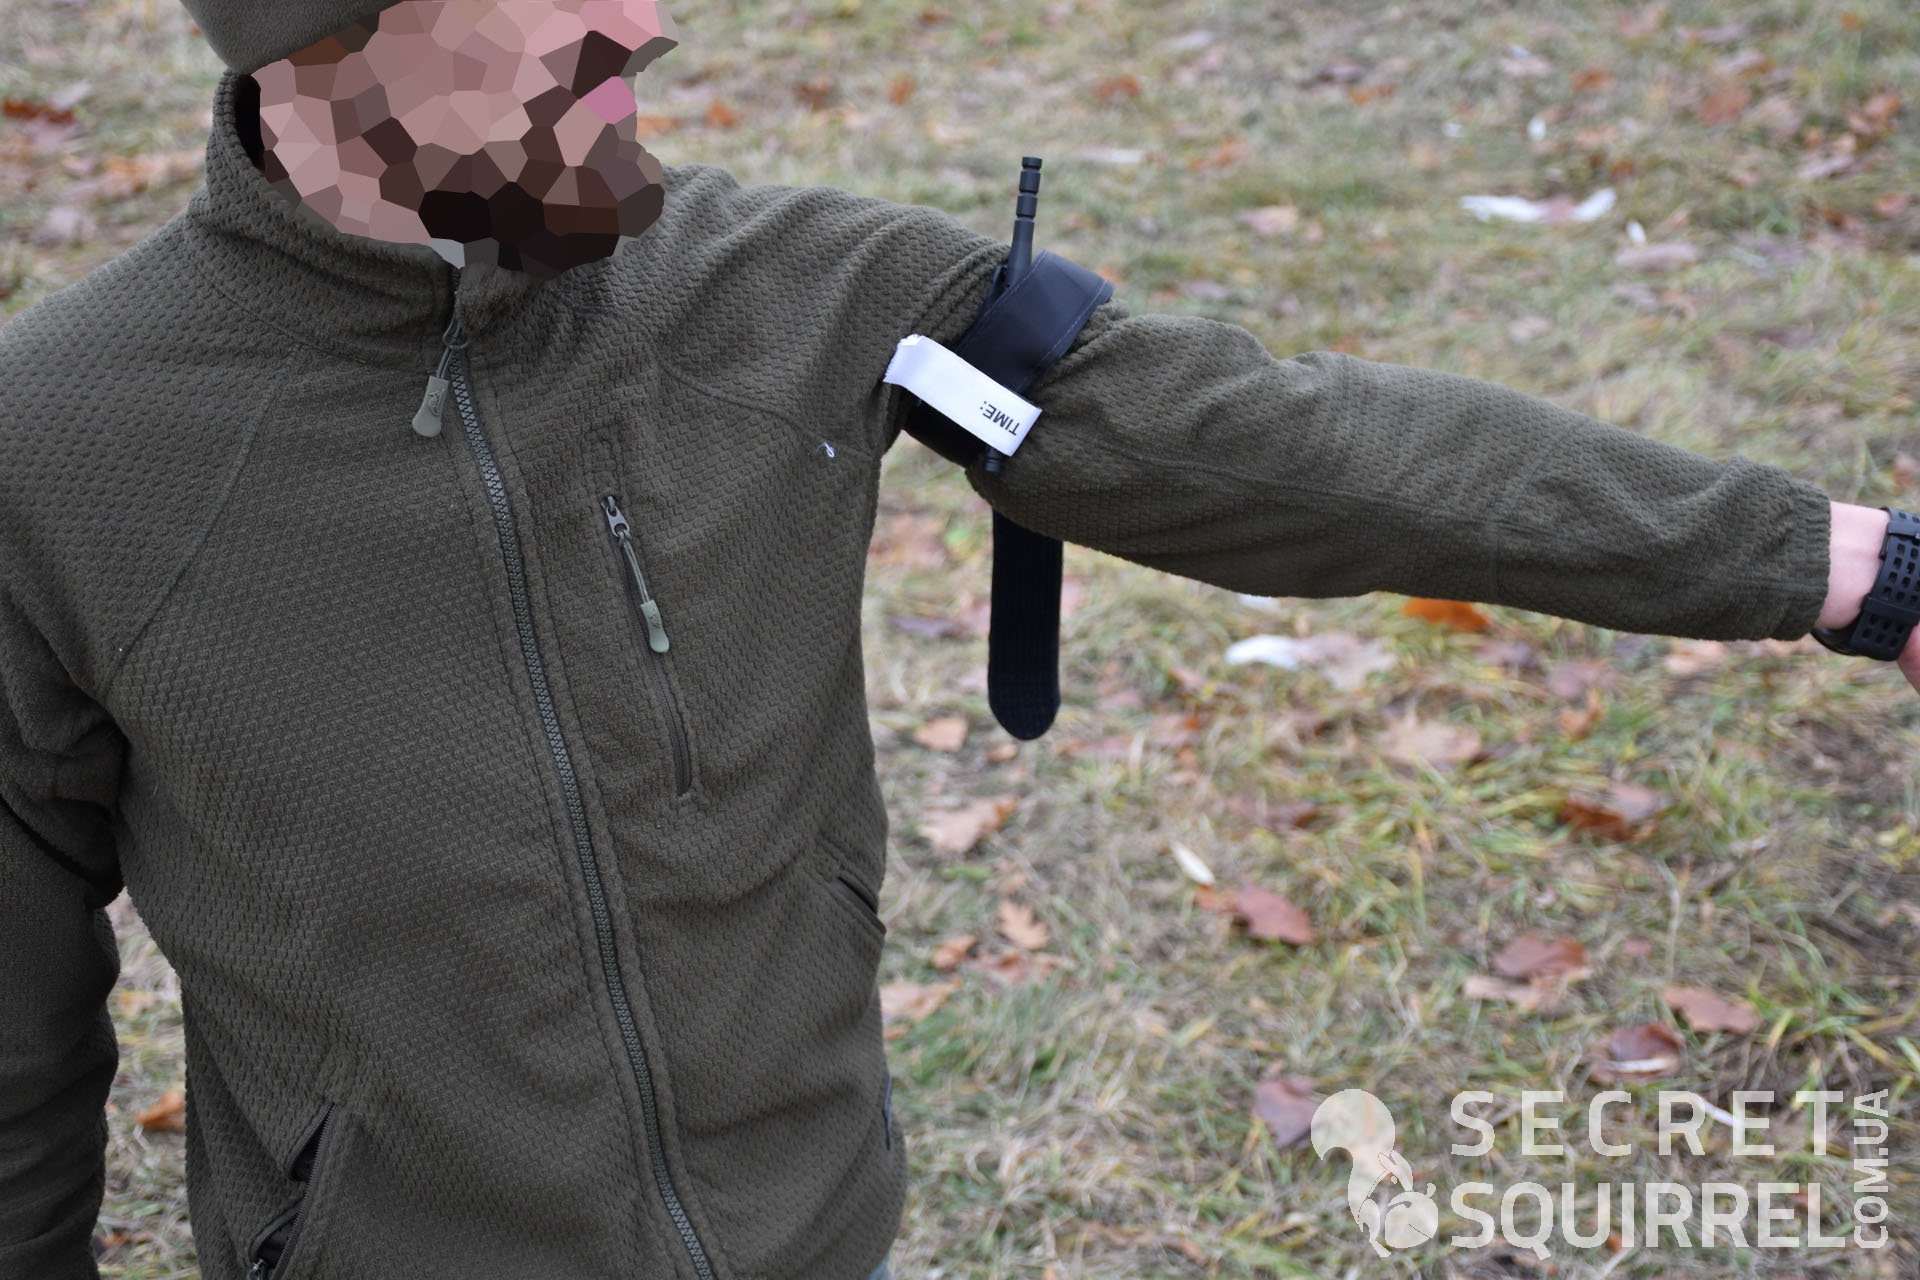
-
Secure the shaft and dressing with slings. Prepare the victim for transportation and reassess the bleeding. If possible, fix the time of applying the tourniquet on a white sling.
After stopping the bleeding with the NAR Combat Application Tourniquet (C-A-T), proceed with applying a hemostatic agent (e.g. Quikclot Combat Gauze Z-Fold) or pressure dressing (e.g. FirstCare Emergency Bandage) to the bleeding site. After successful application, the tourniquet can be relaxed and you can make sure that life-threatening bleeding is blocked. Do not hold the tourniquet on the limbs for longer than necessary.As you can see, alternative styling adds to the already reliable NAR Combat Application Tourniquet (CAT) several positive aspects such as protecting the Velcro from clogging with dirt or snow, uniformity of application on the upper and lower extremities and correct, and most importantly more secure, positioning of the platform and the rod after overlay.
After completing the RC TacMed TCCC and Rifle Training course, in which I, in fact, learned about this method of stacking and laying the NAR Combat Application Tourniquet (C-A-T), I transferred all my bundles in this way. The only thing that remains to be done with this is to work out the extraction and application of the tourniquet on the arms and legs in the standing, sitting and lying positions, preferably with eyes closed, until automatic.
A source: secretsquirrel.com.ua
Author: secretsquirrel.com.ua


