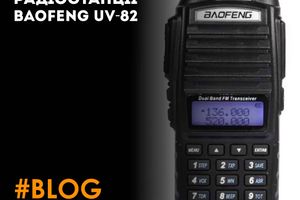
Baofeng UV-5R is a radio station that has gained wide acceptance and a lot of positive reviews being, perhaps, one of the most functional radios in the budget price segment. Today we will get to know her better.
In the beginning, I will make a reservation that I am in no way a serious radio amateur, therefore, when purchasing a radio station, I was primarily interested in the price and the availability of rich functionality that you can afford for this price. When purchasing amateur radios for use during airsoft events and field trips, my choice fell on the Baofeng UV-5R because for relatively little money it offers the following range of features:
- Simultaneous operation in VHF / UHF frequency ranges (130-172 Mhz / 400-520 Mhz, respectively).
- Ability to simultaneously find two frequencies from different bands and quickly switch between them.
- Maximum outgoing power: 5 W.
- Voltage: 7.4 V.
- Modulation type: FM (F3E).
- Customizable backlight liquid crystal display.
- Number of channels in memory: up to 128.
- Built-in FM-radio, working with frequencies 65-108 Mhz.
- Built-in LED torch.
- Capacity of the standard Li-Ion battery: 1800 mAh.
- Power saving mode.
- Duration of work: up to 24 hours.
- Dimensions: 10 cm x 5.2 cm x 3.2 cm (height \ width \ depth).
- Weight: 250 g.
- Wide basic equipment.
Let's move on from short descriptions to direct acquaintance.
Description of the complete set Baofeng UV-5R
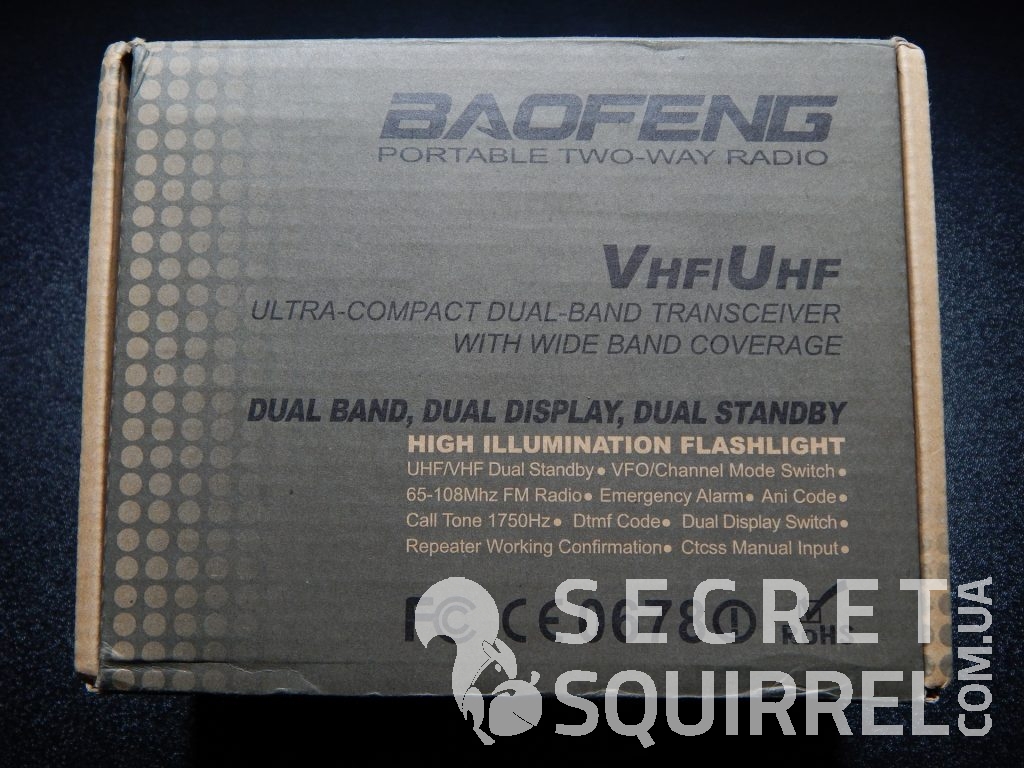
The radio is delivered in a cardboard box on the top panel of which the main characteristics are listed. On the other sides, no important inscriptions or signs were seen.
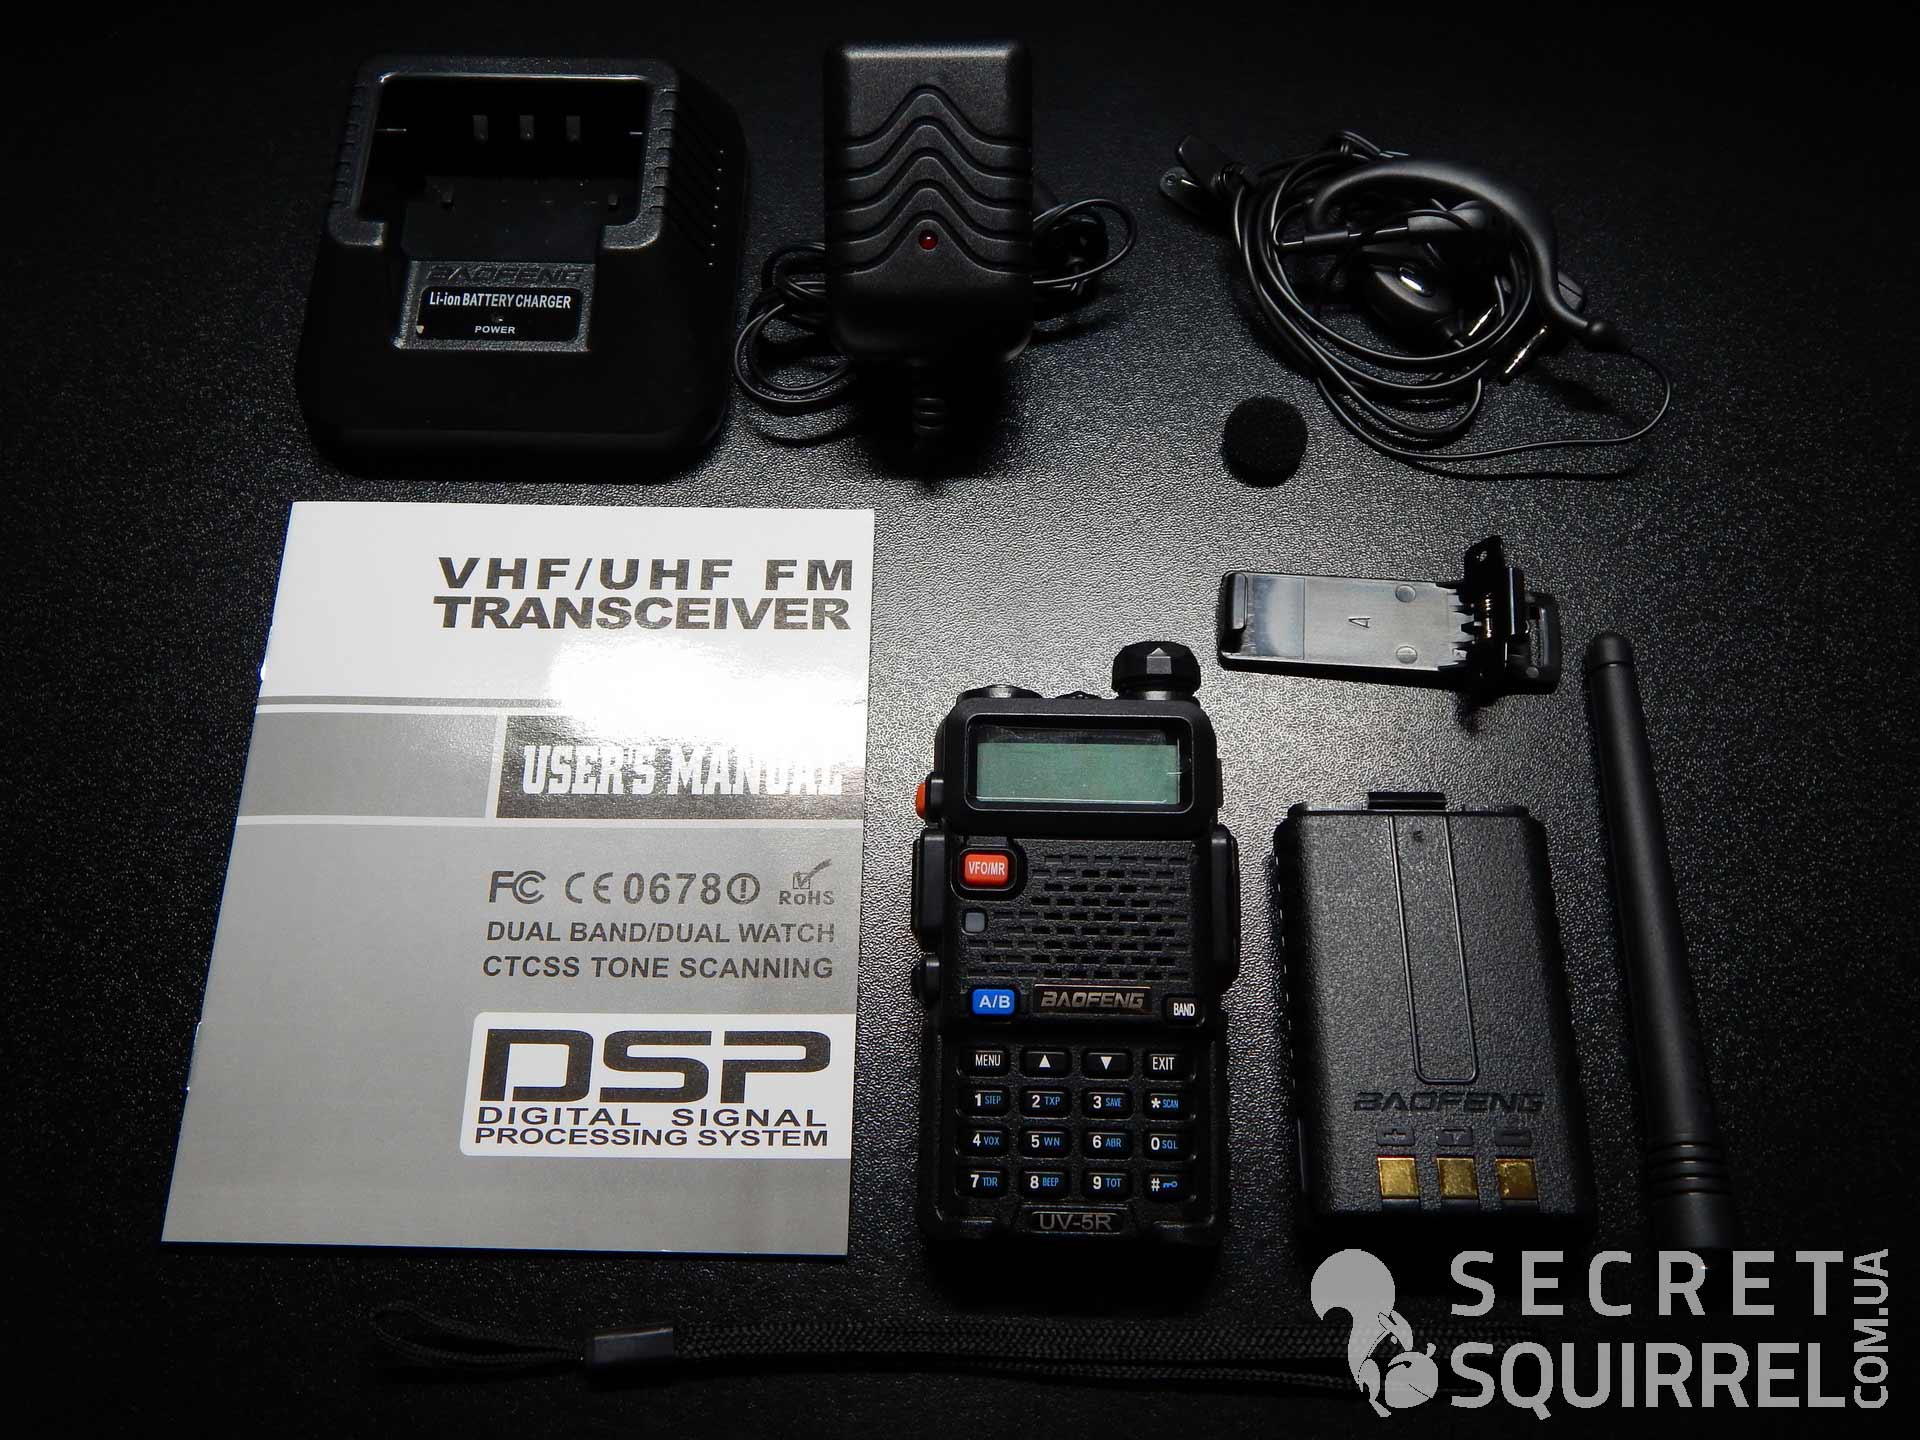
Inside the box, in two molded plastic trays, there is all the richness of the standard equipment of the Baofeng UV-5R radio station, which includes: a radio station, a 1800 mAh battery, an antenna, a headset, a charging cup and a power supply unit for it, a clip, a lanyard, an instruction. We'll start our further acquaintance with the Baofeng UV-5R radio station itself.
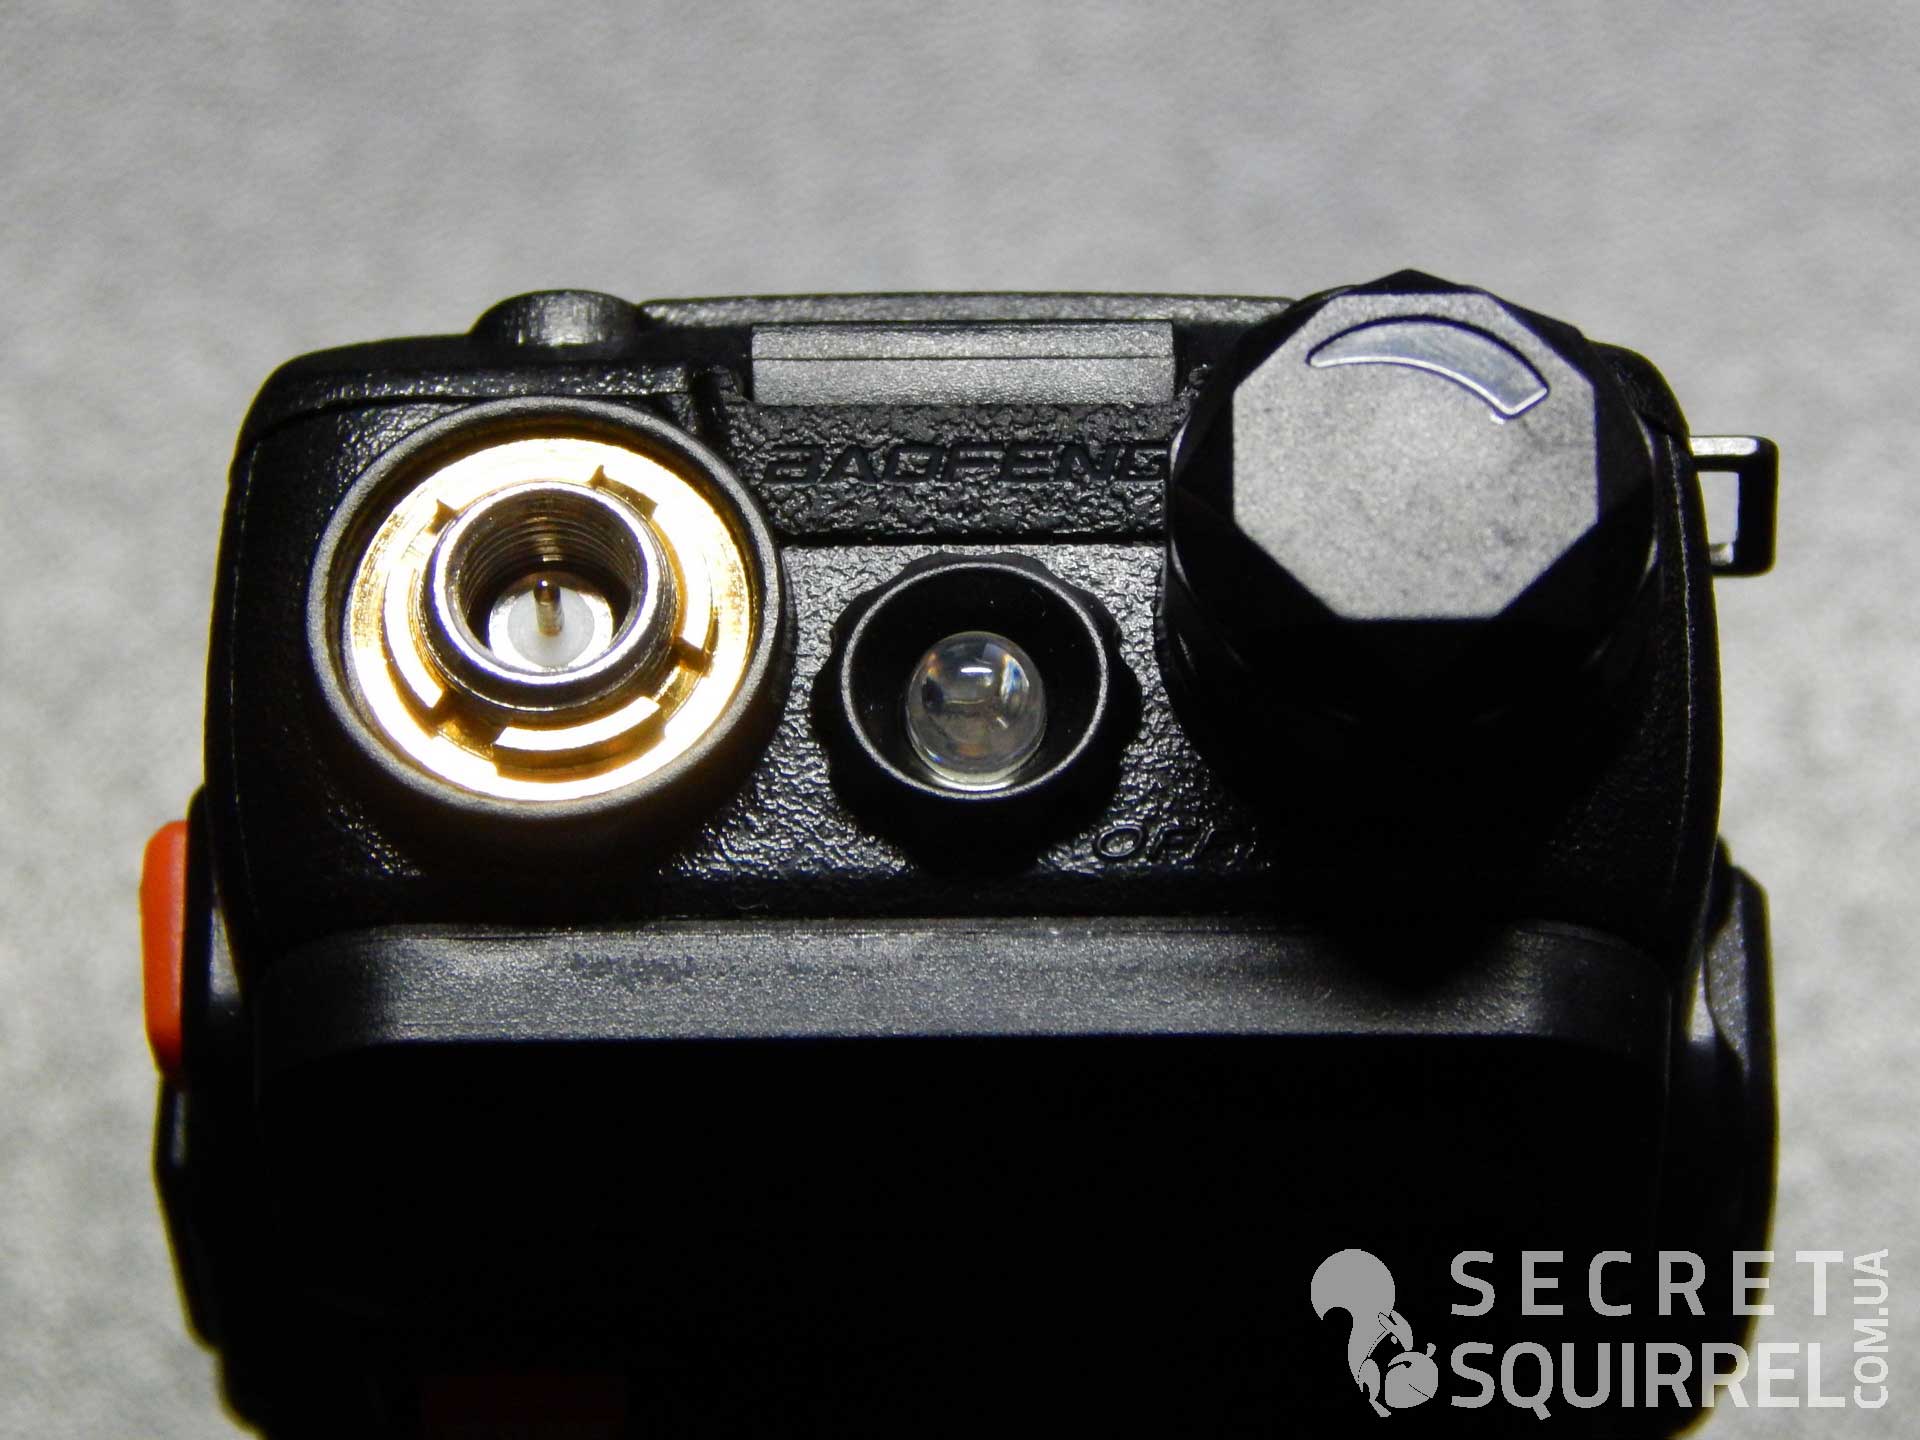
The following devices and controls are located on the upper plane:
- Connector for the SMA F format antenna, where the standard antenna is screwed.
- White LED lamp, which has three modes of operation: off, on, blinking (it is quite suitable for transmitting not only voice alarms on the air, but also for light alarms in the dark).
- Volume control, which also turns on / off the Baofeng UV-5R radio station.
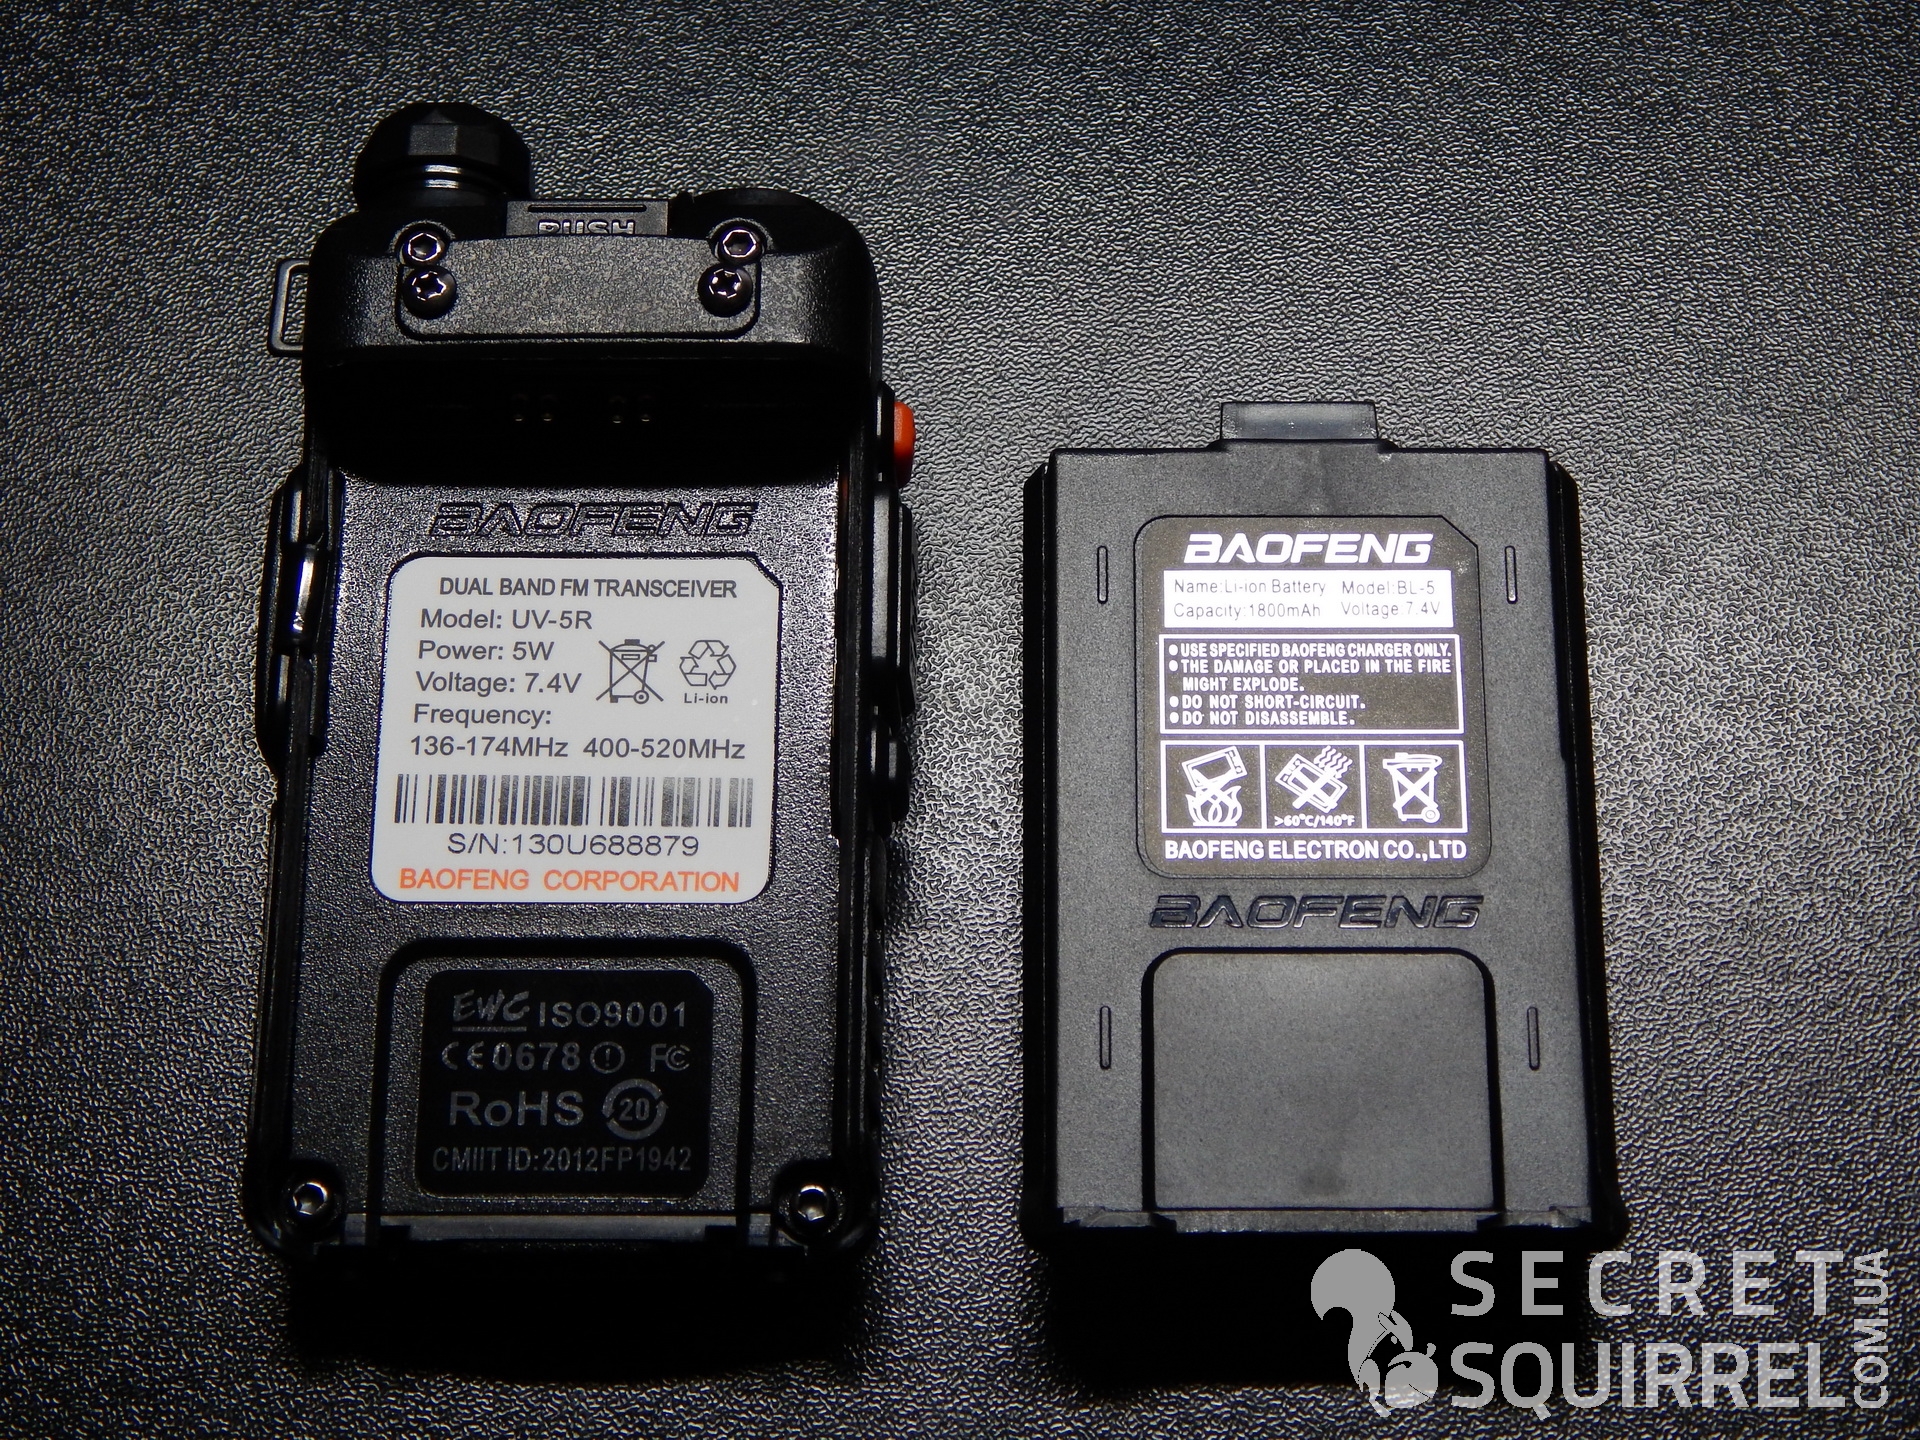
Turning the Baofeng UV-5R radio to connect the battery, the very element of life can reach the later radio station and take a special hold. To remove the battery, simply press the "PUSH" button, which will be removed at the upper part of the rear area of the radio station.
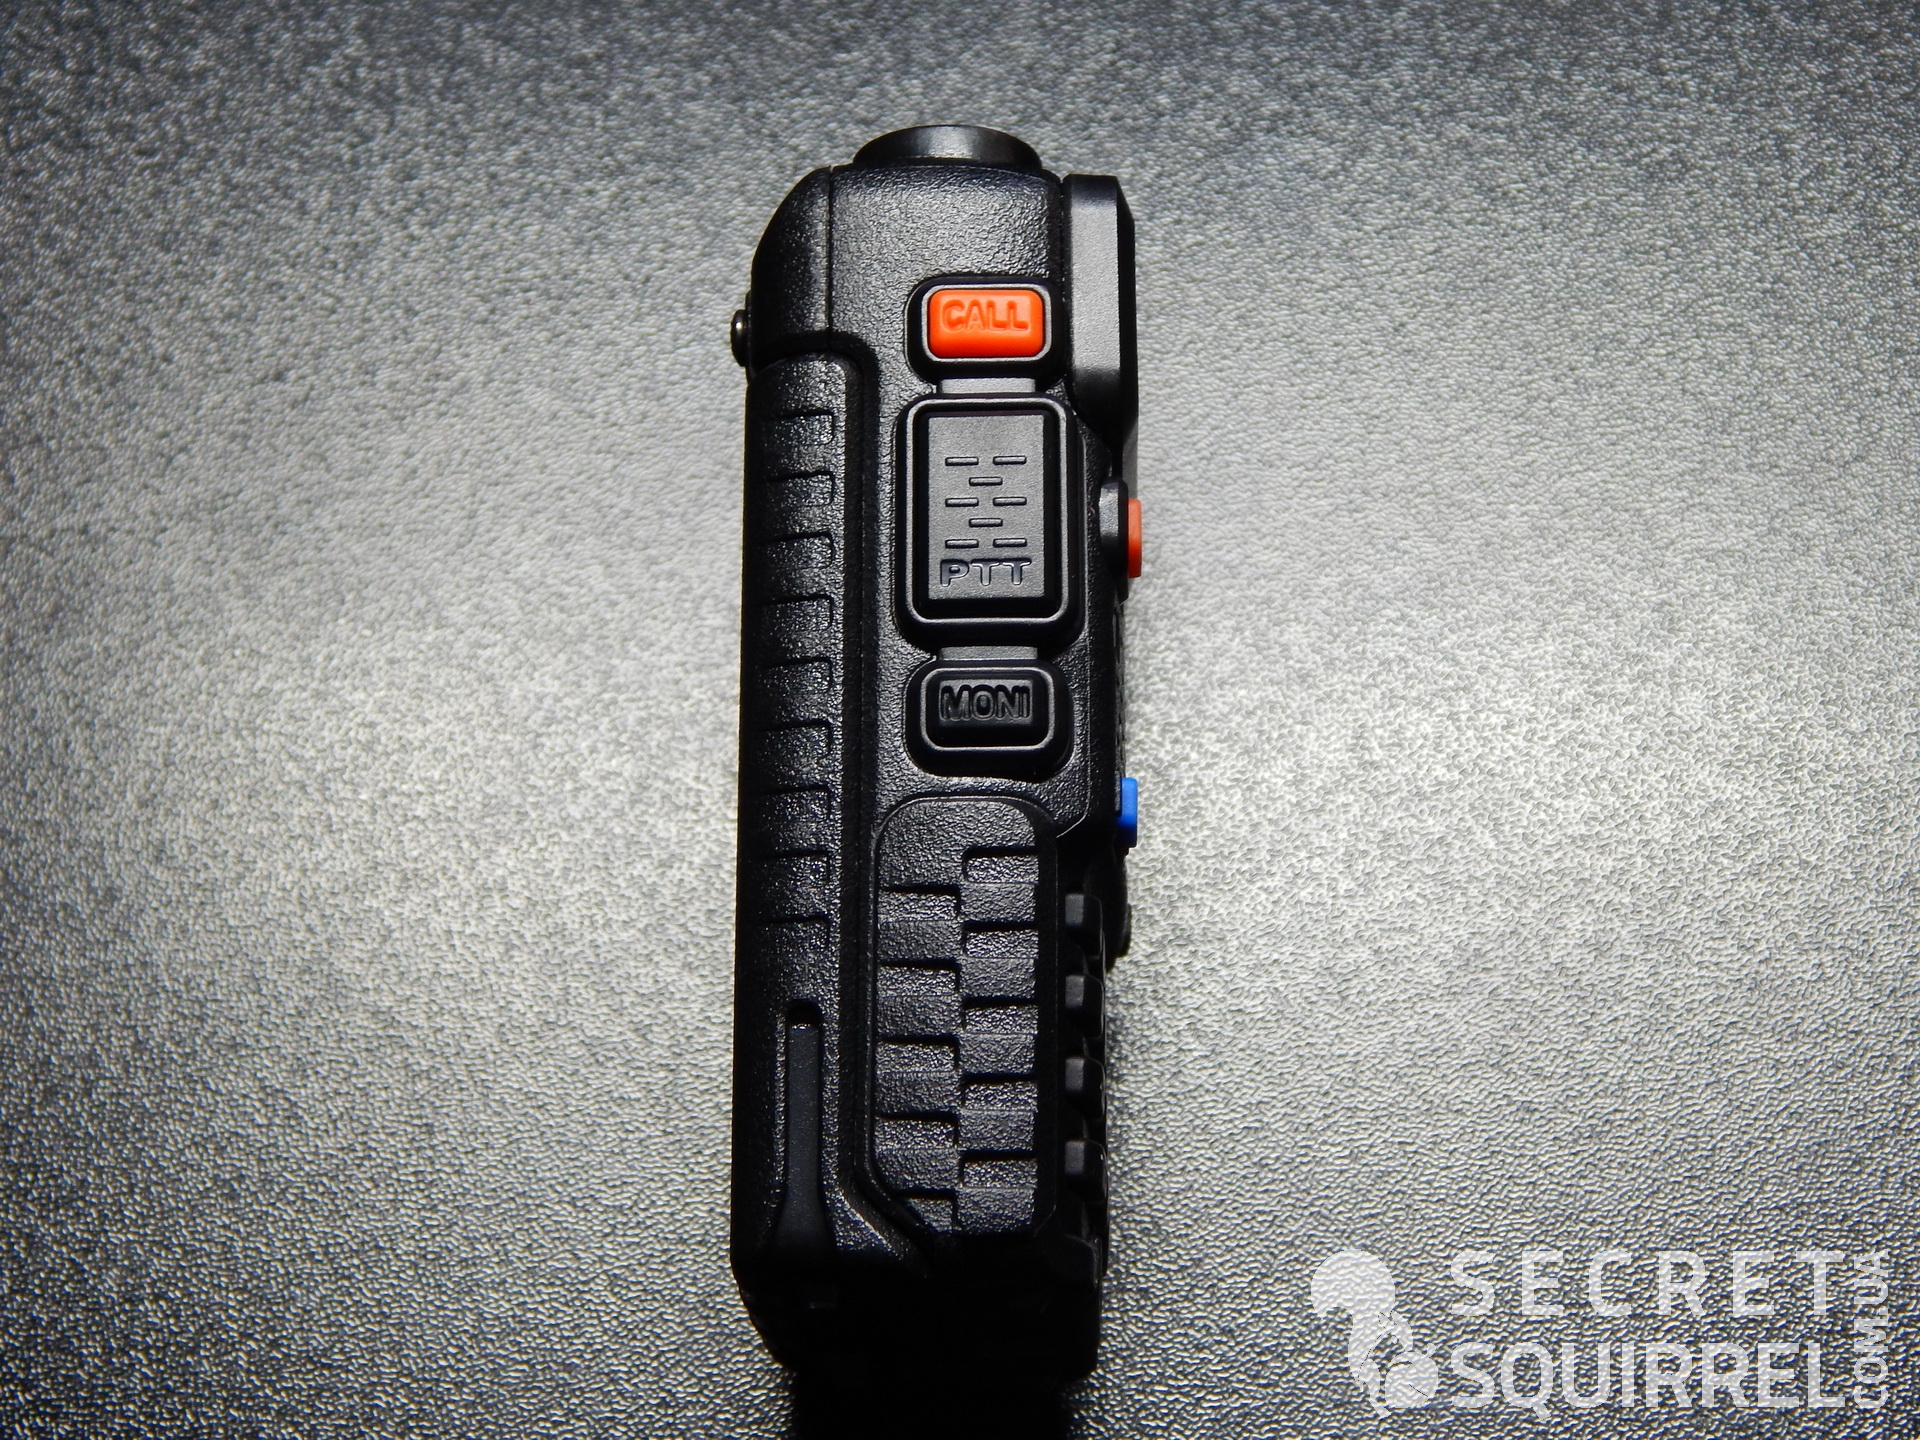
The left side contains the following controls:
- Button "CALL", which, when pressed briefly, switches the radio station between FM and VHF / UHF modes. When pressed for a long time, the "CALL" button sends a distress call on the air.
- "PTT" button, when pressed, your audio message is sent to the air.
- Button "MONI", which, when pressed briefly, turns on / switches the operation mode of the LED flashlight on the upper plane. Long pressing of the "MONI" button turns on / off the noise suppressor of the Baofeng UV-5R radio station.
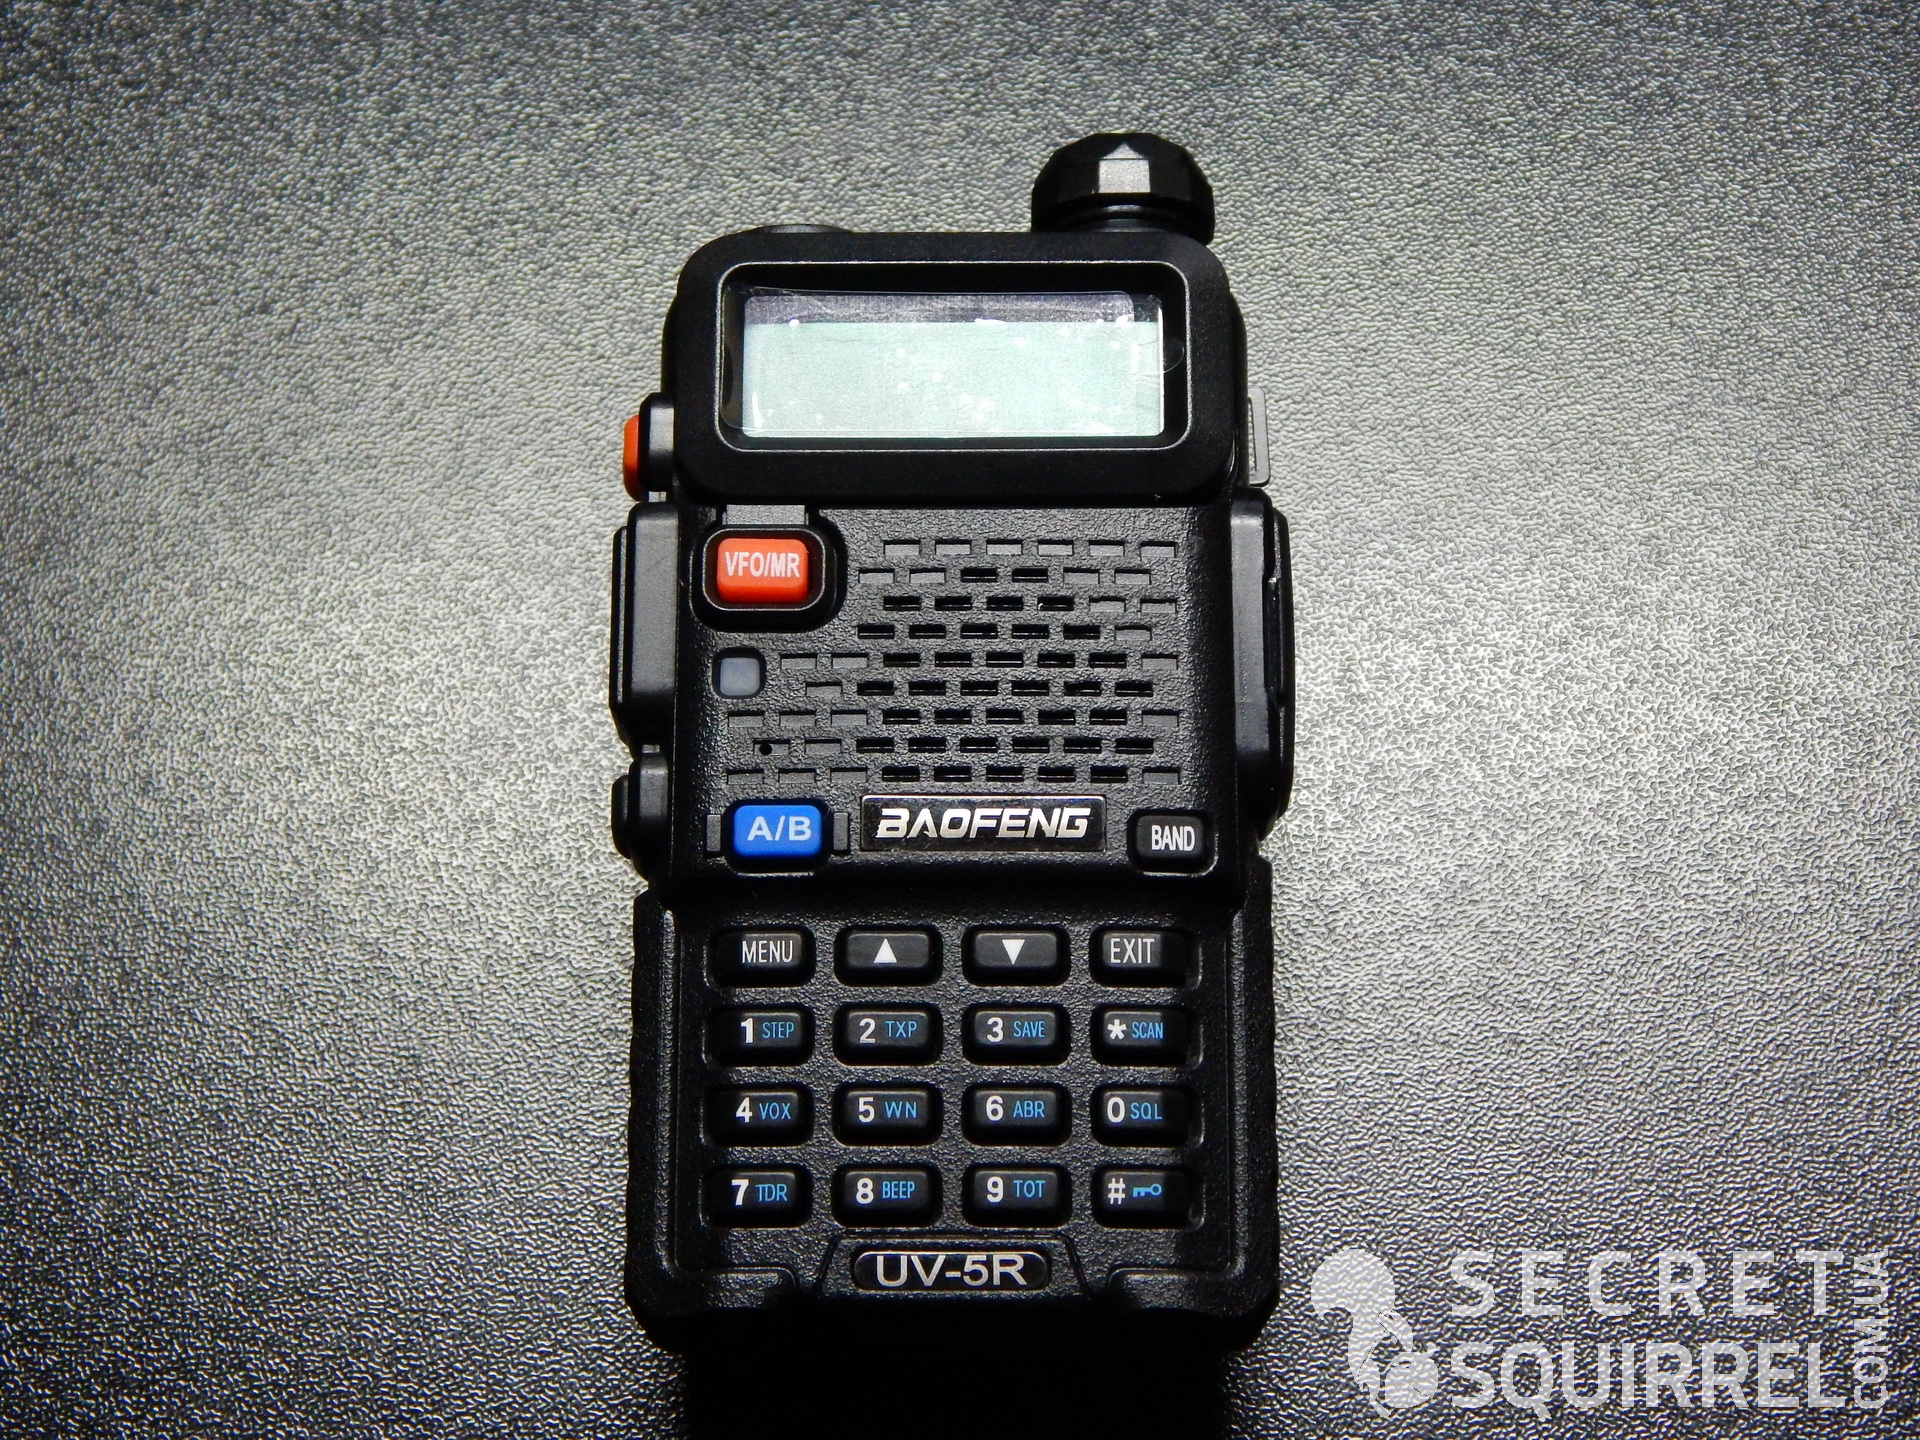
Most of the controls are located on the front plane. First of all, it is a two-line liquid crystal display that displays active frequencies and additional information such as battery level, transmission indicator, additional mode and function indicators, etc. Below the display there is an area reserved for a microphone and a speaker, next to which there is another LED that informs about the activation of the transmission mode. In addition, the following buttons are also located on the front plane:
- Button "VFO / MR" - to switch the modes of frequency entry and navigate through the channels stored in the device's memory.
- Button "A / B" - to switch between upper and lower frequencies displayed on the screen. Depending on the selected position, your messages will be broadcast on the selected frequency / channel.
- Button "BAND" - to switch between VHF \ UHF bands for the frequency selected with the button "A / B".
- Button "MENU" - to go to the settings menu of the Baofeng UV-5R radio station.
- Button "UP" - to navigate through the menu, navigate through the memorized channels and increase the frequency according to the set step.
- Button "DOWN" - to navigate through the menu, navigate through the memorized channels and decrease the frequency according to the set step.
- "EXIT" button - to exit the menu / cancel.
- Keypad with buttons from 0 to 9, * and # - for direct entry of frequencies, quick navigation through the menu. Long pressing of the "#" button turns on / off the mode of blocking the digital keyboard of the radio station, and long pressing of the "*" button starts the frequency scanning mode with the step specified in the menu. Scan mode is disabled when a transmission is detected on the current frequency, or when you press the "PTT" button.
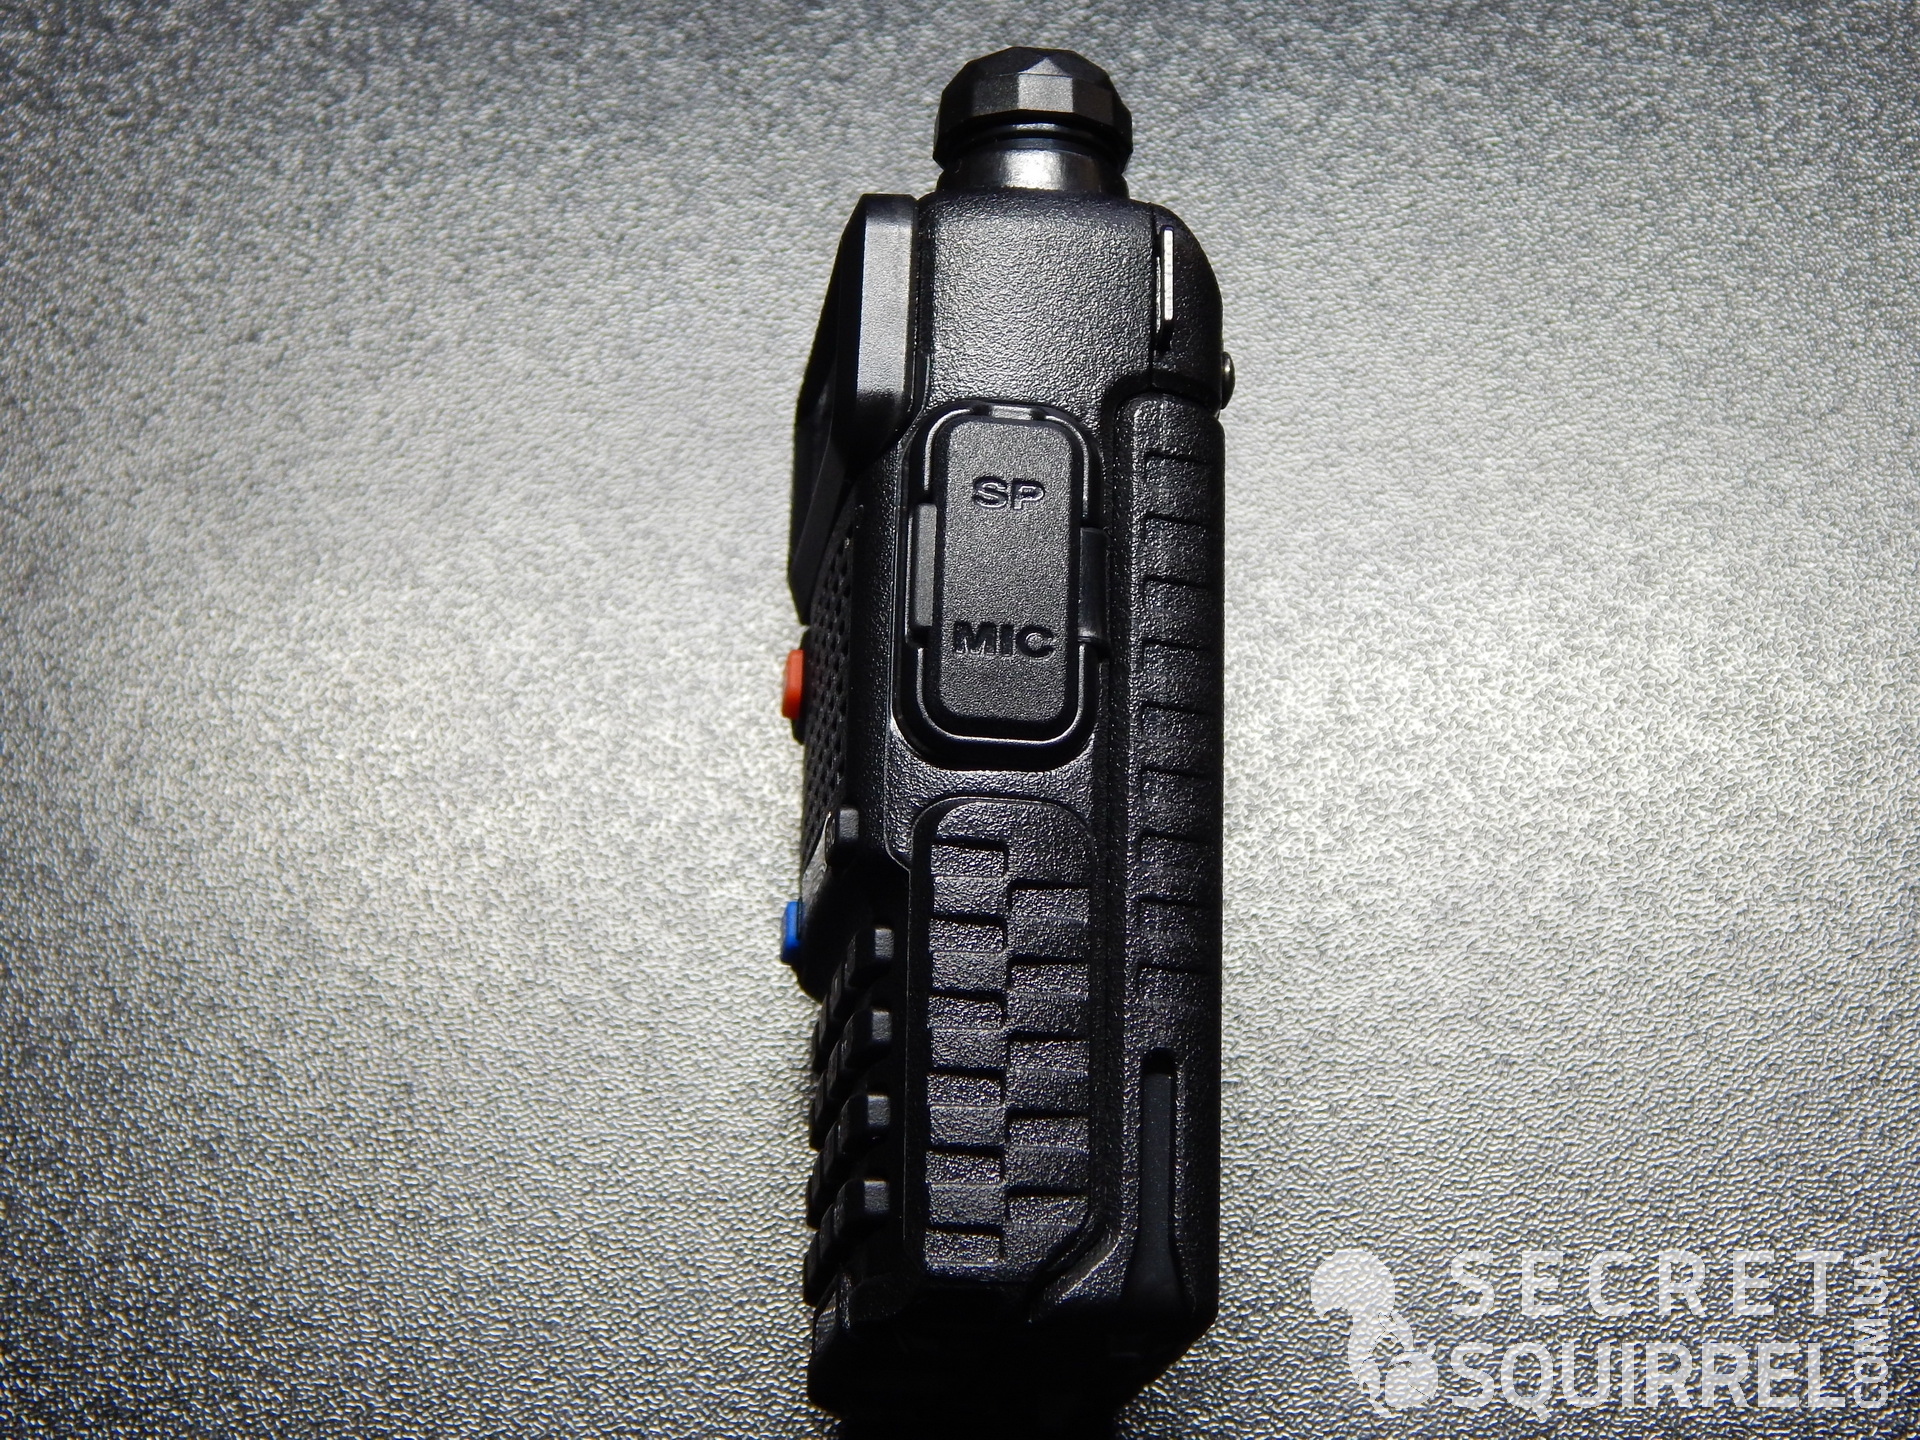
The right side does not contain any controls, and a place is allocated here for a cover that protects the headset connectors and a metal ring into which you can thread the supplied lanyard for additional insurance and fixing the radio in your hands.
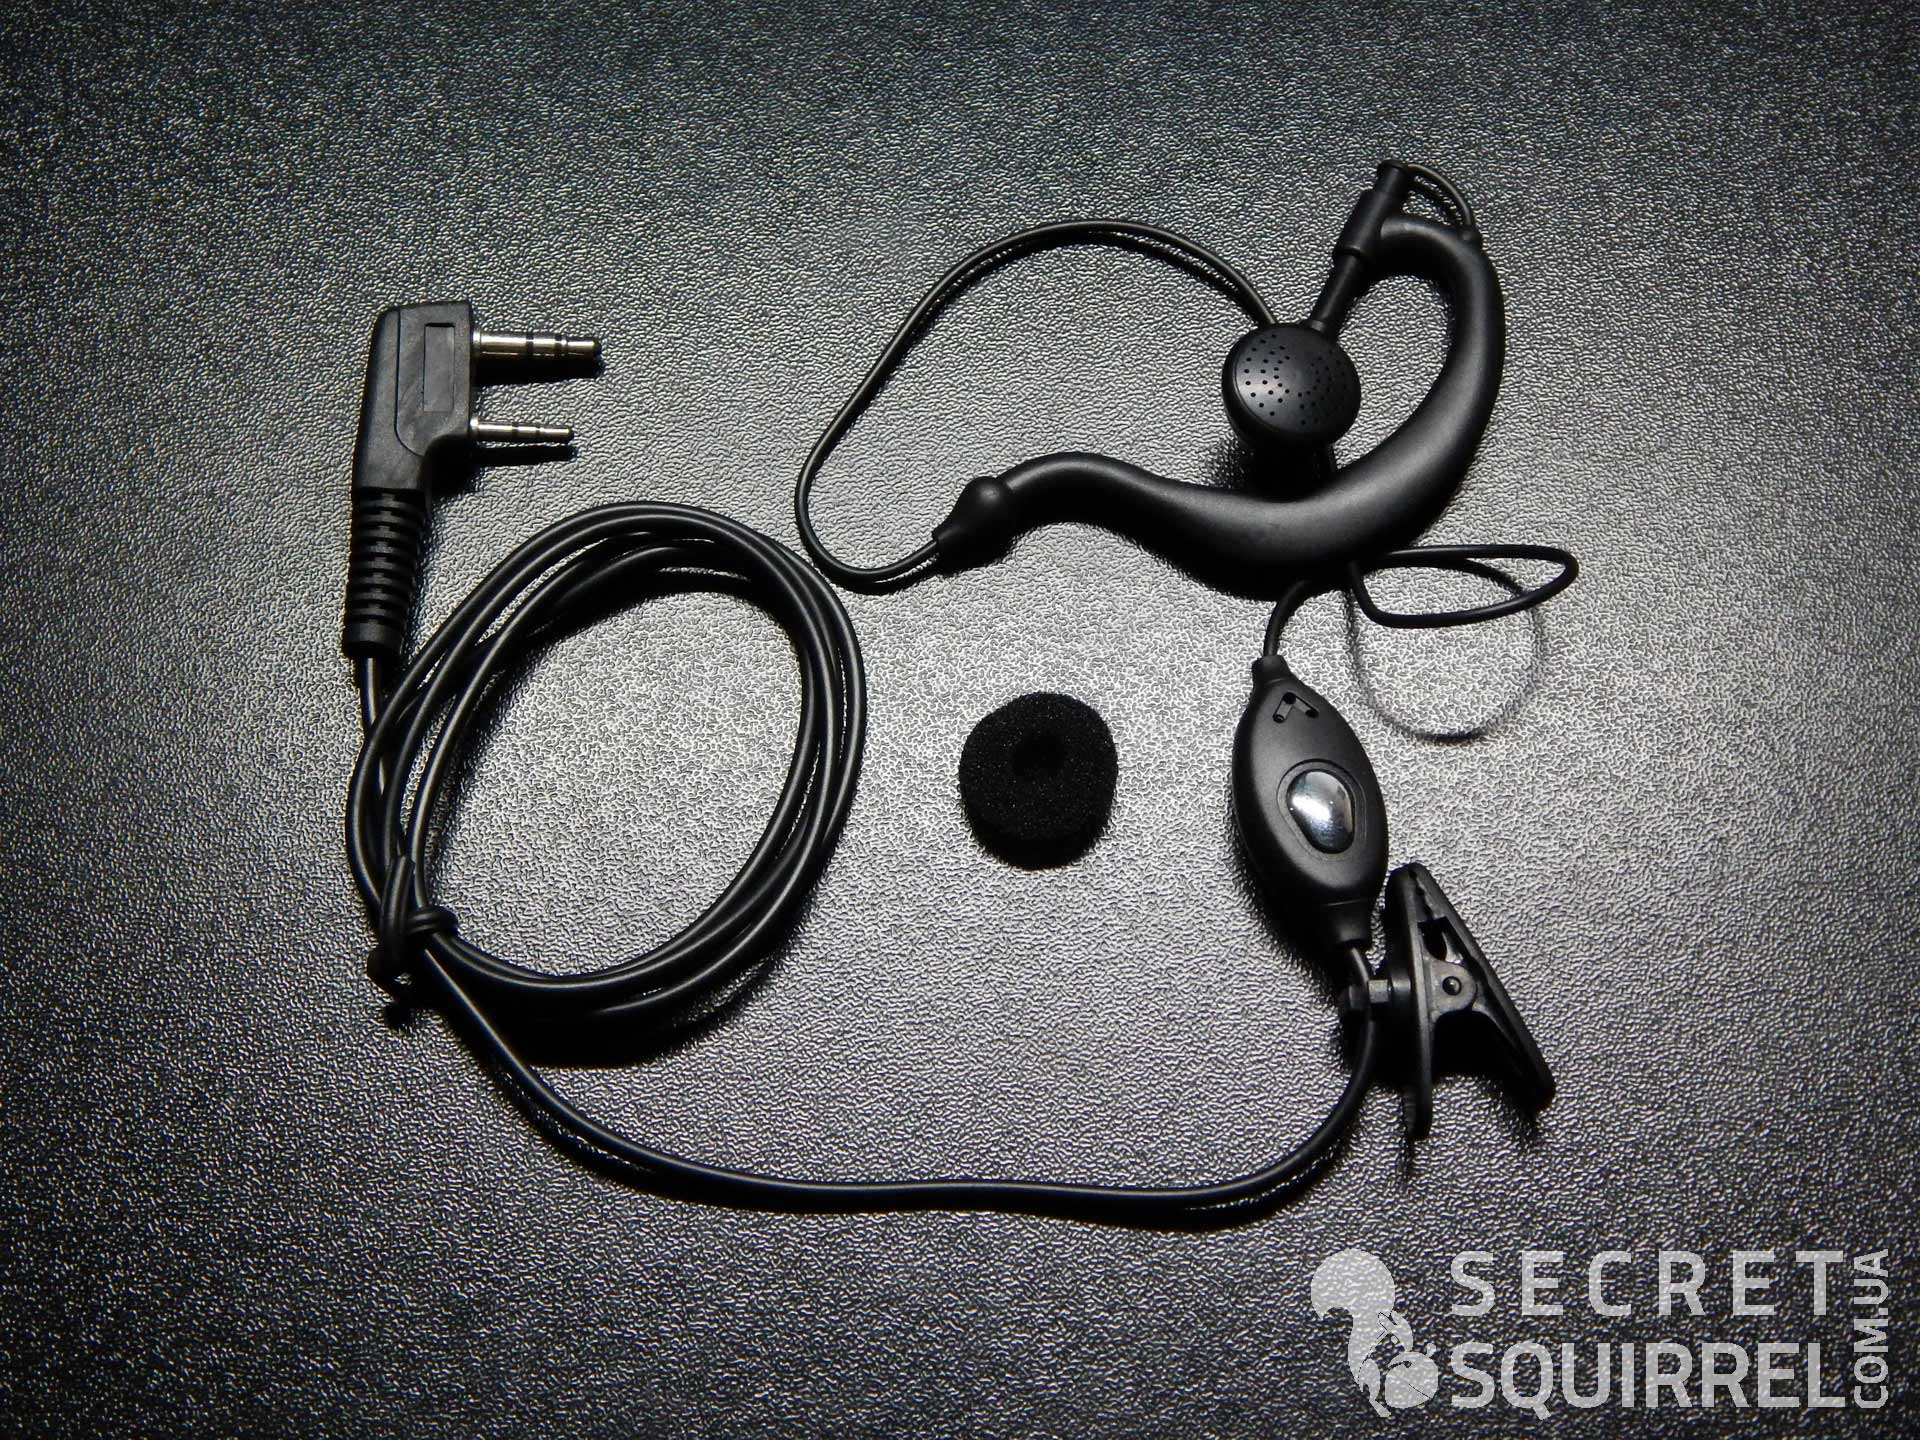
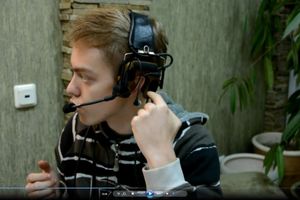
Since we're talking about connectors, let's take a look at the complete headset itself. The Baofeng UV-5R headset is made in the form of a loop with a swivel earpiece, thanks to which the headset can be fixed on both the right and left ear. The kit also includes a small foam pad that can be worn on the earphone to improve fixation inside the ear canal and partially block external noise. The headset microphone, together with the remote PTT button, is located in a small oval-shaped plastic case, which is fixed to the collar with a special clothespin. Next, we have a wire about 75 centimeters long, which is quite enough to fix the Baofeng UV-5R radio station on the belt. The headset itself is made on a budget, although you don't have to demand anything special from it, thanks to Baofeng and for simply including it in the package.

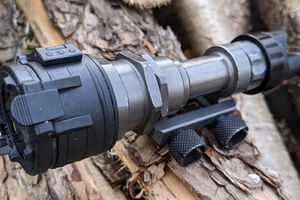
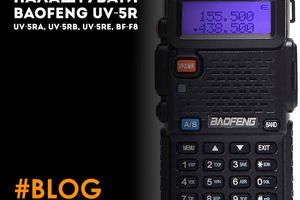
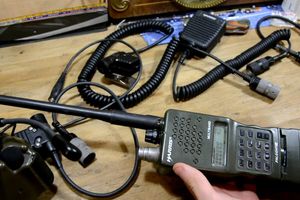
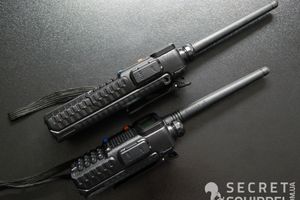
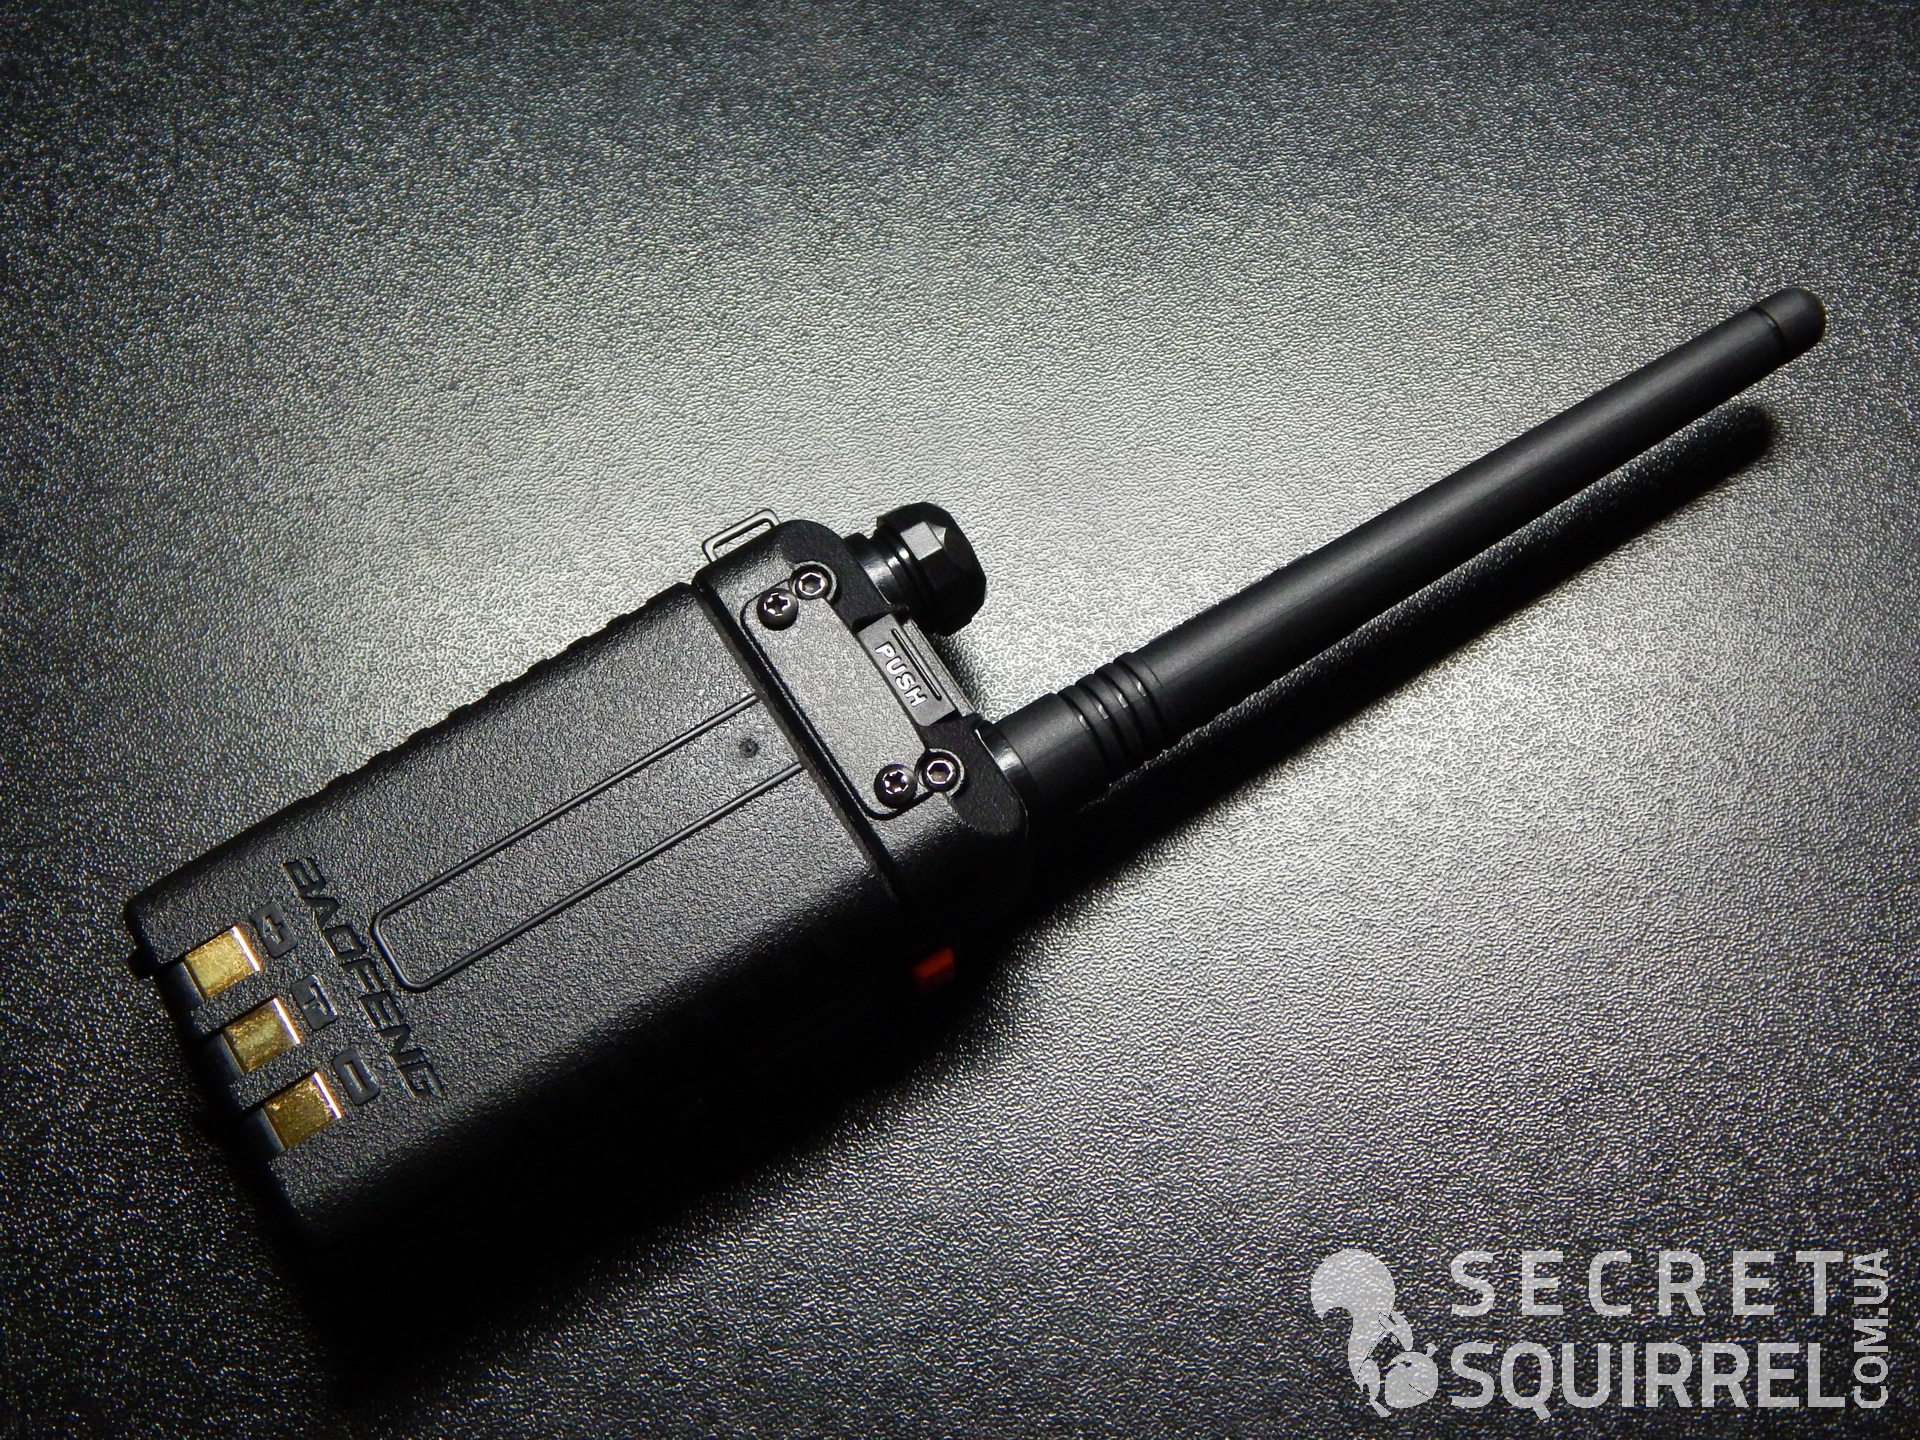
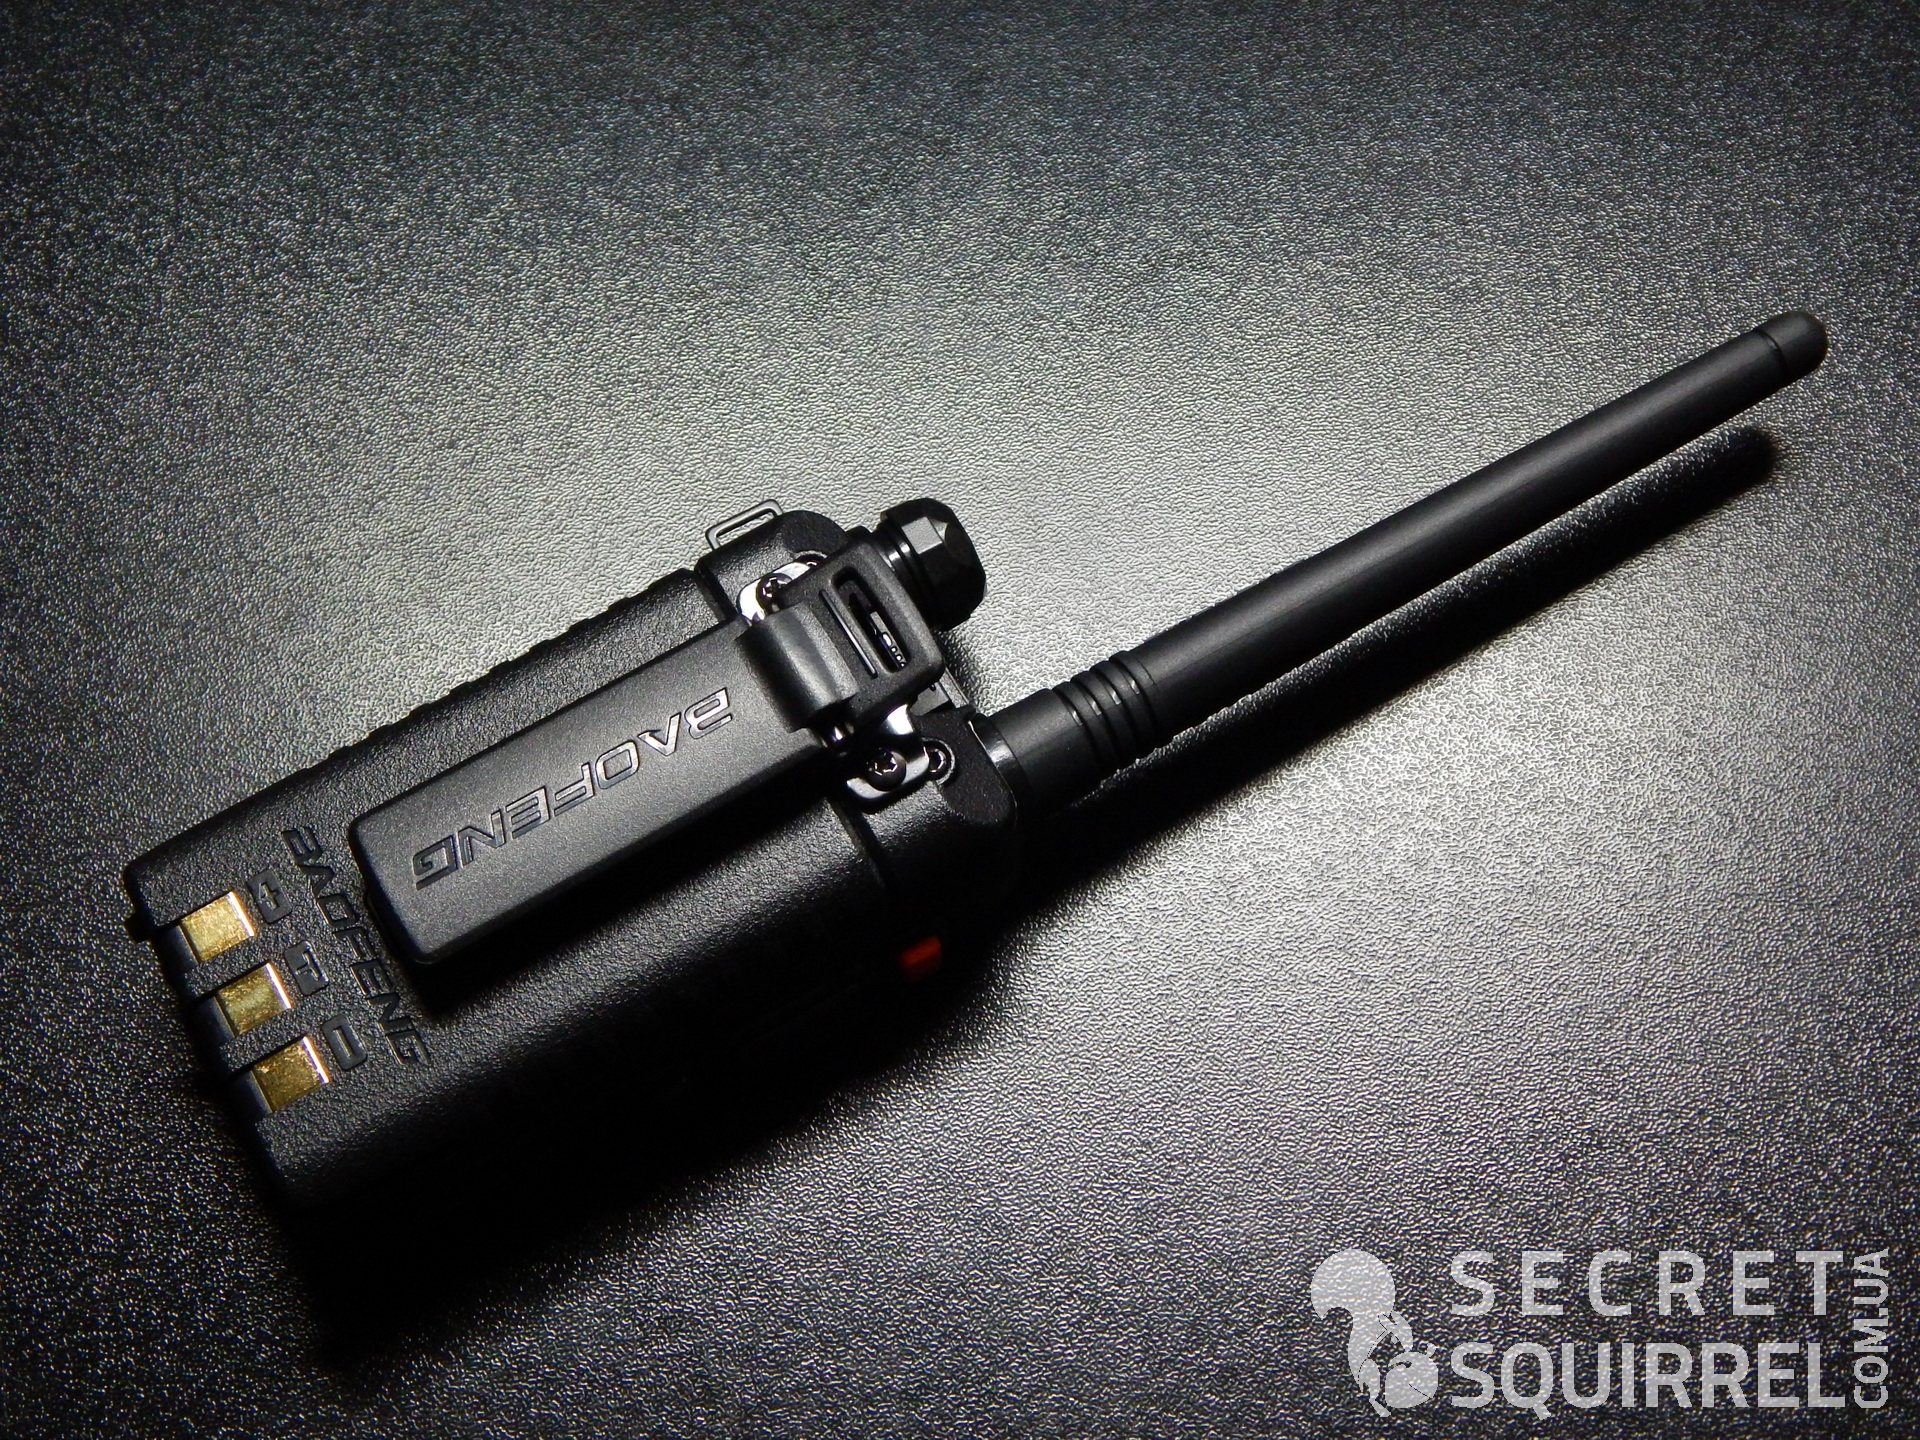
The next accessory in the kit is an antenna, after attaching it, Baofeng UV-5R takes the form shown in the photo above.
The manufacturer strongly discourages turning on the Baofeng UV-5R without an antenna, as this may lead to malfunctions of the device and premature failure. Switch on the radio only with the antenna screwed on!
Two active channels are clearly visible there, each of which is tuned to frequencies from the VHF and UHF bands.
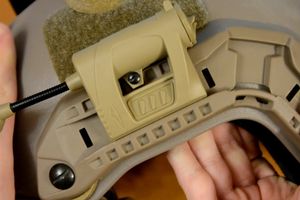
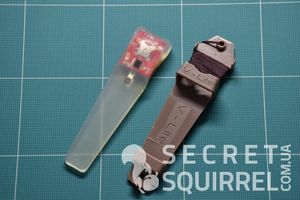
And one more of the complete accessories. There are two holes with screws screwed into them on the rear plane at the top of the chassis of the Baofeng UV-5R radio. They are needed to attach the clip included in the kit. The clip is about two centimeters wide, thanks to which it fits perfectly into the lines of the PALS interface, which allows you to attach the walkie-talkie with equal comfort both to tactical equipment and to waist belts. To install it, you need to unscrew the bolts and screw them back together with the clip. From my own experience, I will say that it is much easier to do this with the battery disconnected. After installation, the Baofeng UV-5R radio with a clip will look like this:
But this radio station is rich not only in accessories and external possibilities.
Baofeng UV-5R Menu Description
As I said above, the radio amateur of me is still the same, therefore, for all the menu items of the Baofeng UV-5R radio station, unfortunately, I cannot tell you, but I will dwell on some of them that you will need when you first set up the radio, or for everyday amateur use :
| Menu item (No., designation, name) | The values | Comments |
| 00 – SQL (Squelch level) | 0 (min) — 9 (max) | Noise suppressor opening threshold. At values of 0-3, the walkie-talkie almost constantly makes background noise. 4-6 optimal noise reduction values. |
| 01 – STEP (Frequency Step) | 2,5 / 5 / 6,25 / 10 /12,5 / 25 kHz | Frequency step in frequency mode when scanning or by pressing the UP & DOWN keys. The default is 25 kHz. It may be necessary to change the step to manually set some frequencies. |
| 02 – TPX (Transmit Power) | HIGH/LOW | Transmitter power. For short distances it can be switched to LOW (1 W), but usually does not change from HIGH (5 W). At low power, “L” is displayed on the screen. The power of the transmitter, according to users, is sufficient for distances up to 20 km. in the field, up to 7-10 km. in the forest and about 3 km. in urban areas. |
| 03 – SAVE (Battery Save) | OFF/1/2/3/4 | Battery saving level. Displays the number of "sleep" cycles relative to "run" cycles: 1: 1, 2: 1, 3: 1, 4: 1. The higher the value, the longer the battery will last. |
| 04 – VOX (Voice Operated eXchange) | OFF/0 (max) — 10 (min) | The sensitivity level of the voice-controlled transmission. Sets the voice volume level at which the transmission will start. When turned on, the display shows "VOX". |
| 05 – W/N (Wideband/Narrowband) | WIDE/NARR | Modulation type: wideband WIDE (25 kHz), narrowband NARR (12.5 kHz). In narrowband modulation, “N” is displayed on the screen. |
| 06 – ABR (Display Illumination) | OFF/ 1-10 | Backlight auto-off time in seconds. Also, the time after which the radio will return to the FM radio mode, after being interrupted by receiving a signal on the operating frequency. |
| 07 – TDR (Dual Watch/Reception) | OFF/ON | Simultaneous tracking of two frequencies (A and B) in the UHF and VHF bands by alternately hopping between frequencies. When a signal appears at one of the frequencies, the jumping ends. The receiver on the frequency of which it was last received becomes active. When this function is enabled, “S” is displayed on the screen. |
| 08 – BEEP (Keypad Beep) | OFF/ON | Enable / disable sound identification of keystrokes. |
| 09 – TOT (Transmission Timer) | 15-600 in 15 second increments. | Transmission timeout, interrupting the broadcast after a set number of seconds. Helps to avoid overheating and clogging of the ether if the PTT button is accidentally pressed. |
| 10 – R-DCS | See the DCS Tone Chart in your radio manual. | Sets the digital sub-tone (DCS) for reception. The sound will be heard only if the partner is transmitting with the same subtone for the transmission. They are often used when working through repeaters. |
| 11 – R-CTCS | See the CTCSS tones table in your radio manual. | Sets the analog sub-tone (CTCSS) for reception. The sound will be heard only if the partner is transmitting with the same subtone for the transmission. They are often used when working through repeaters. |
| 12 – T-DCS | See the DCS Tone Chart in your radio manual. | Sets the digital sub-tone (DCS) for transmission. The sound will be heard only if the partner conducts a reception with the same subtone. They are often used when working through repeaters. |
| 13 – T-CTCS | See the CTCSS tones table in your radio manual. | Sets the analog sub-tone (CTCSS) for transmission. The sound will be heard only if the partner conducts a reception with the same subtone. They are often used when working through repeaters. |
| 14 – VOICE (Voice Prompt) | OFF/ENG/CHI | Mute / select the English or Chinese voice guidance when pressing the keys. |
| 18 — SC-REV (Scan Resume Method) | TO/CO/SE | Scan method, where TO - scan all channels in memory, CO - full range, SE - part of range. If a transmission is detected, scanning will stop. It is this scan that will start when you hold down the “*” button. |
| 21 – MDF-A | FREQ/CH/NAME | Adjusts the display for track A in channel mode. Can display: frequency, channel number or name (names for stored channels are set only when programming from a computer). |
| 22 – MDF-B | FREQ/CH/NAME | Adjusts the display for track B in channel mode. Can display: frequency, channel number or name (names for stored channels are set only when programming from a computer). |
| 24 – AUTOLK (Keypad Auto Lock) | OFF/ON | Enable / disable automatic key lock. |
| 25 – SFT-D | OFF/+/- | The direction of the offset of the transmit frequency relative to the receive frequency. Only in frequency mode! Values: OFF - no shift; "+" - the transmission frequency will be higher than the reception frequency; "-" - the transmission frequency will be less than the reception frequency. The “+” or “-” indicator lights up on the screen depending on the selected value. Used in conjunction with menu item 26 - OFFSET when working through repeaters. |
| 26 – OFFSET | 00.000 - 69.990 MHz at 10 kHz steps | The value of the offset of the transmit frequency from the receive frequency (in MHz). Used in conjunction with menu item 25 - SFT-D when operating via repeaters. |
| 27 – MEMCH | 000 — 127 | Used to save a channel to a memory location, or change the parameters of an already saved channel. |
| 28 – DELCH | 000 — 127 | Delete a channel from memory. |
| 29 – WT-LED | OFF/BLUE/ORANGE/PURPLE | Disable / select the screen backlight in standby mode. |
| 30 – RX-LED | OFF/BLUE/ORANGE/PURPLE | Disable / select the screen backlight in receive mode. |
| 31 – TX-LED | OFF/BLUE/ORANGE/PURPLE | Disable / select screen backlight in transmission mode. |
| 32 – AL-MOD (Alarm Mode) | SITE/TONE/CODE | Mode of the distress signal sent over the air, transmitted when the “CALL” button is pressed: tone, digital code (set only using a computer and a software cable) |
| 33 – BAND | VHF/UHF | Manual range selection. In frequency mode, it allows you to set the frequency range: VHF (136-174 MHz), UHF (400-480 MHz). |
| 34 – TDR-AB | OFF/A/B | In two-frequency receive mode (see menu 7 - TDR), set the receiver A or B, which will remain active after receiving a signal on any of the tracks. Values: "OFF" - the receiver with the last incoming signal will become active. |
| 38 — PONMGS | FULL/MGS | Displays all screen elements or a message when the radio is turned on. The text of the message is set by flipping letters in alphabetical order. |
| 39 – ROGER (End of Transmission Tone) | ON/OFF | Enable / disable the beep at the end of the transfer. A convenient alternative to "welcome". |
| 40 – RESET (Restore to Default Settings) | Reset settings to default settings (factory settings). |
I would be very grateful if you could help supplement this table with descriptions of the missing menu items
And, finally, a few more tips for working in the memory of a radio station.
Adding channels to memory Baofeng UV-5R
Of course, you can use a computer and a programming cable to add channels to the radio station's memory. With their help, you can even set a name for each channel. But if you don’t have a cable at hand or don’t at all, then you will have to actively work with the radio buttons. To add the selected frequency to memory, follow these steps:
- Use the "A / B" button to select the top line of the screen.
- Use the "VFO / MR" button to select the screen where there are no digital
indicators (direct frequency input).
- Select the desired frequency by scrolling with the UP / DOWN buttons with a preset step OR enter the frequency using the numeric keypad (to set some frequencies it may be necessary to change the synthesizer step first, see menu item 1 - STEP).
- Press the "MENU" button to access the menu.
- Select menu item 27 - MEMCH by scrolling or direct input from the keyboard.
- Confirm your selection by pressing the "MENU" button.
- Select the desired channel number using the UP / DOWN buttons (pre-occupied channel numbers (if any) in the list will not be available).
- Confirm the channel selection by pressing the "MENU" button - the selected number is assigned to the channel.
Deleting channels from memory Baofeng UV-5R
To delete a channel from the radio station's memory, perform the following sequence of actions:
- Using the "VFO / MR" button select the screen where there are no digital indicators (direct frequency entry).
- Press the "MENU" button to access the menu.
- Select menu item 28 - DELCH by scrolling or direct input from the keyboard.
- Confirm your selection by pressing the "MENU" button.
- Using the "UP / DOWN" buttons select the desired channel / frequency
- Confirm the selection by pressing the "MENU" button - the channel is deleted.
The first thing that attracts the Baofeng UV-5R radio is, of course, the price. But, having familiarized yourself with the settings and capabilities, you understand that the functionality of this model will appeal to not only a beginner, but also an experienced radio amateur, which makes Baofeng UV-5R the optimal choice for a wide range of users, which tourists, airsoft players, paintball players can easily get into. , cyclists, climbers and lovers of other active sports, fishermen, hunters, motorists moving in columns and all those who need affordable and high-quality radio traffic.
In addition to the Baofeng UV-5R radio station itself, the manufacturer also has a wide range of compatible accessories, some of which we have devoted to the publication Accessories for Baofeng UV-5R.
The Baofeng UV-5R radio presented in the review was purchased from punisher.com.ua store, where you can always check the current price and availability.
Source: https://secretsquirrel.com.ua/snaryazhenie/obzor-radiostantsii-baofeng-uv-5r/
Author: MAD